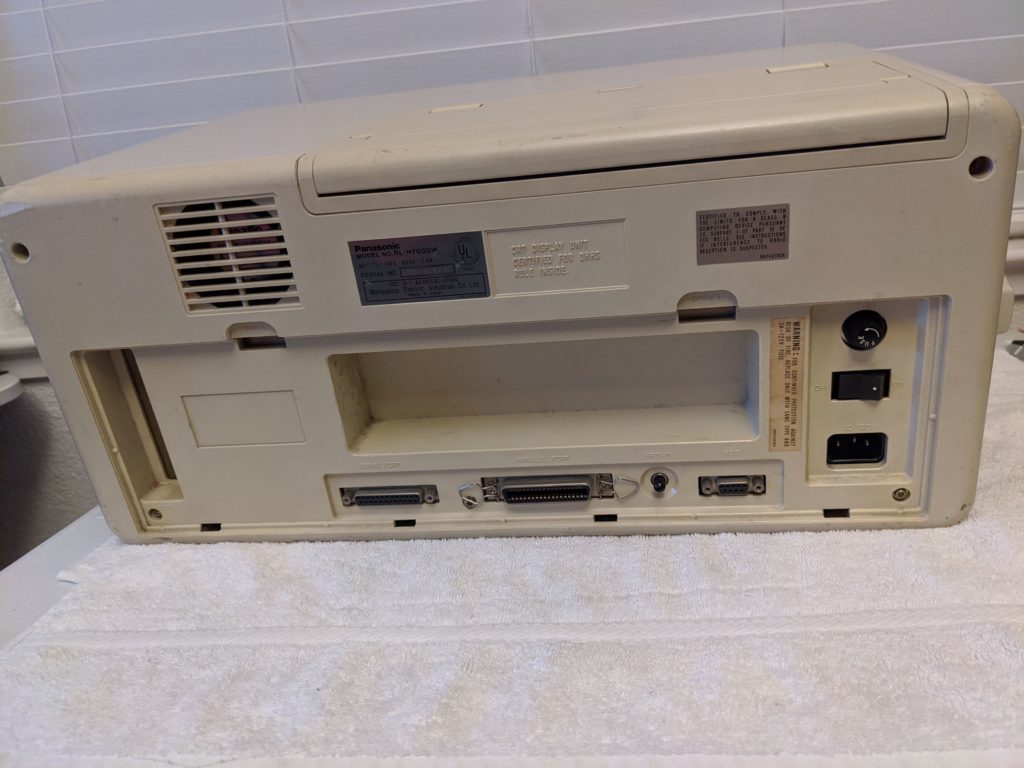
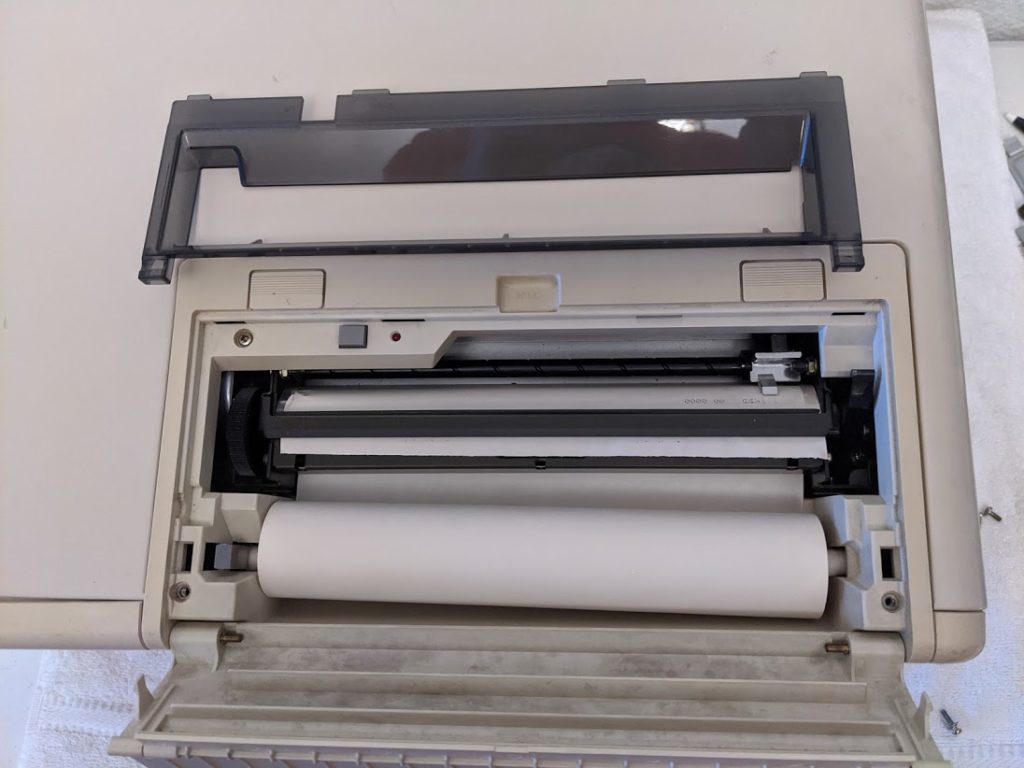
This is something new to my collection. It’s a portable (I use that term loosely) XT class computer manufactured in Japan by Panasonic. Production began on the Panasonic Sr. Partner in 1983 and the base model sold for about US$3,500 (that would be over $9,000 in 2020 dollars). The machine shipped with an Intel 8088 processor running at 4.77 MHz. This particular computer has a memory upgrade and contains the maximum 512k RAM. Mine also has a double-sided double-density 5.25″ floppy drive and MFM disk drive. One super cool thing about this computer is that it has a built-in thermal printer. There is also a 9-inch green monochrome screen built-in but the machine can also accommodate an external color monitor to let you enjoy CGA color graphics at 640 x 200 with 4 colors. Amazing, I know!
Case Disassembly
- Turn right-side up
- Open printer compartment
- Remove printer translucent cover
- Remove paper
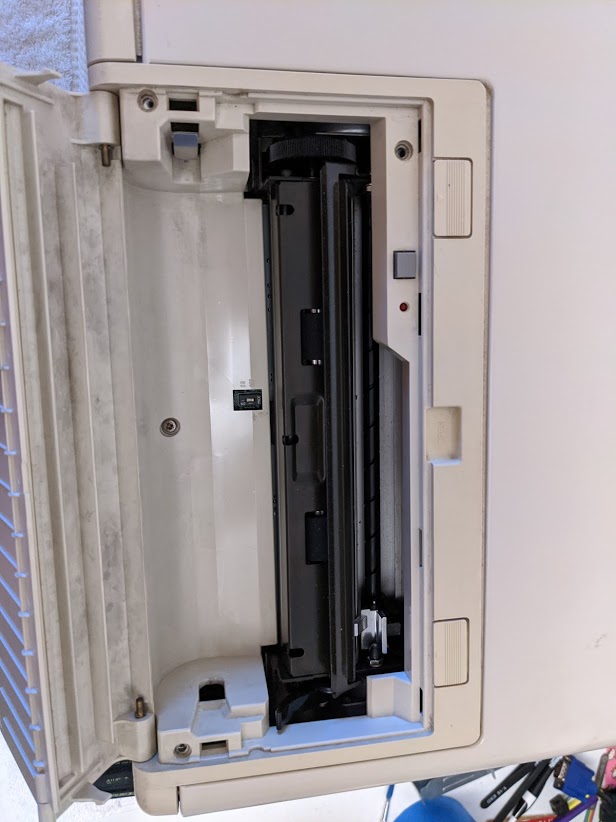
- Remove screws inside of printer bay
- Don’t forget to remove the screw on the back of the unit inside of the printer bay
- Lift off printer top
- Disconnect switch wiring
- Put monitor face down
- Remove 5 screws on back of case
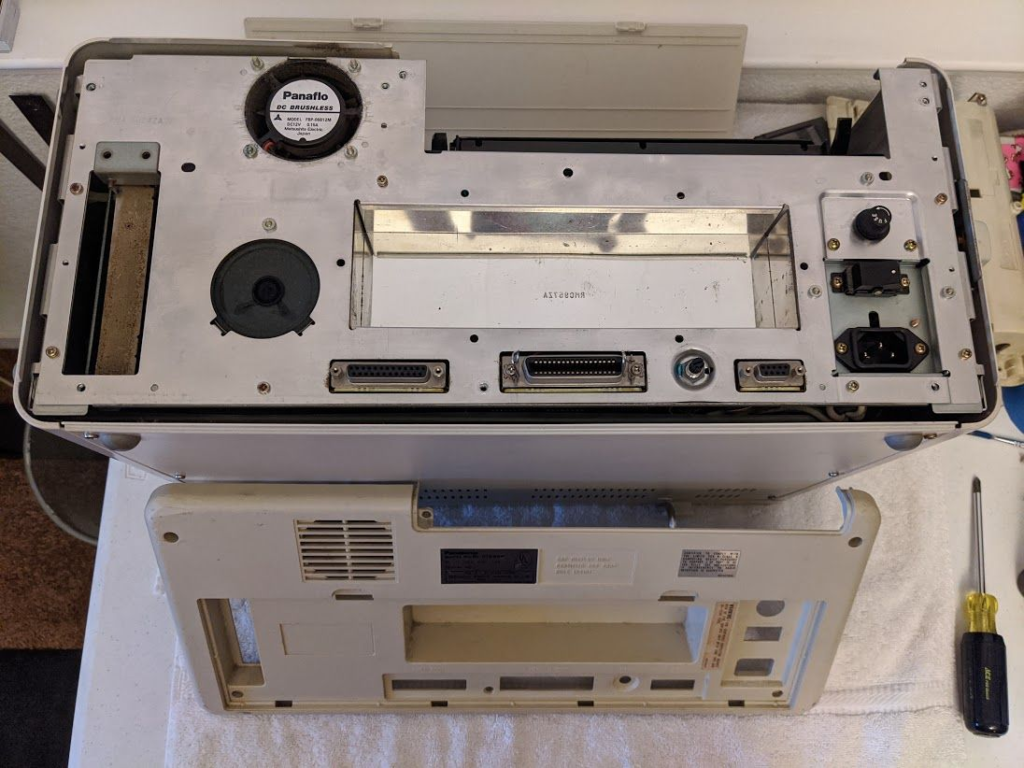
- Lift off plastic back
- Lift off outer metal enclosure


Expansion cards
My computer has a memory expansion board mounted to the side panel and a MFM controller (more toward drives). To access:
- Remove top plate
- Remove screws on side too
- Pull up and out (like a normal ISA card) (make sure you pull up and out)


Drives
There are black plastic guides mounted on the bottom of the drive cage that hold the drives in place. To remove each drive, slide the whole drive toward the rear of the machine and pull out. There are two screws holding the sliding plastic piece to each drive.

Keyboard
The keyboard was almost non-operational when I first powered the computer up. On some keys, I could hit it pretty hard repeatedly and sometimes a character would be sent to the screen. Mostly not though. It wound up being relatively easy to fix. It was just really dirty inside.

To open up the keyboard:
- Remove 3 screws along the back
- Remove 1 screw front center
- Remove 4 smaller screws on bottom.
- Use spudger to pry bottom off. You will need to press in the retainers to get the 2 pieces apart.
- Remove 2 screws securing connector assembly.
- Remove 6 bigger screws on bottom of keyboard PCB
- Lift keyboard out of plastic case


The membrane sheet was just old and dirty which prevented a good connection to the pads on the PCB under the key mechanism. I carefully cleaned each contact (the black dots) with a cotton swab and some isopropyl alcohol. You have to be extra careful that you don’t damage the membrane sheet. It’s pretty sturdy, but I would hate to have to find another one. A lot of gunk came off. I used a lot of swabs. I also cleaned the PCB. After washing the keyboard outer plastic pieces, I put it all back together and now it works like new and looks great!
I plan on doing a little more on this machine. Keep an eye on this blog for future updates!
I have already tried this machine with a XTIDE expansion card that allows a Compact Flash to be used as a silent, super-fast hard drive. I loaded up a bunch of software on the CF card using my more modern PC and have been happily using the Panasonic Sr. Partner. Now — where to lug it to? Starbucks?
Hello There,
I just bought on and unfortunalty somebody removed the roms in the motherboard.
Would you have a dump by any change?
Regards,
Cliff