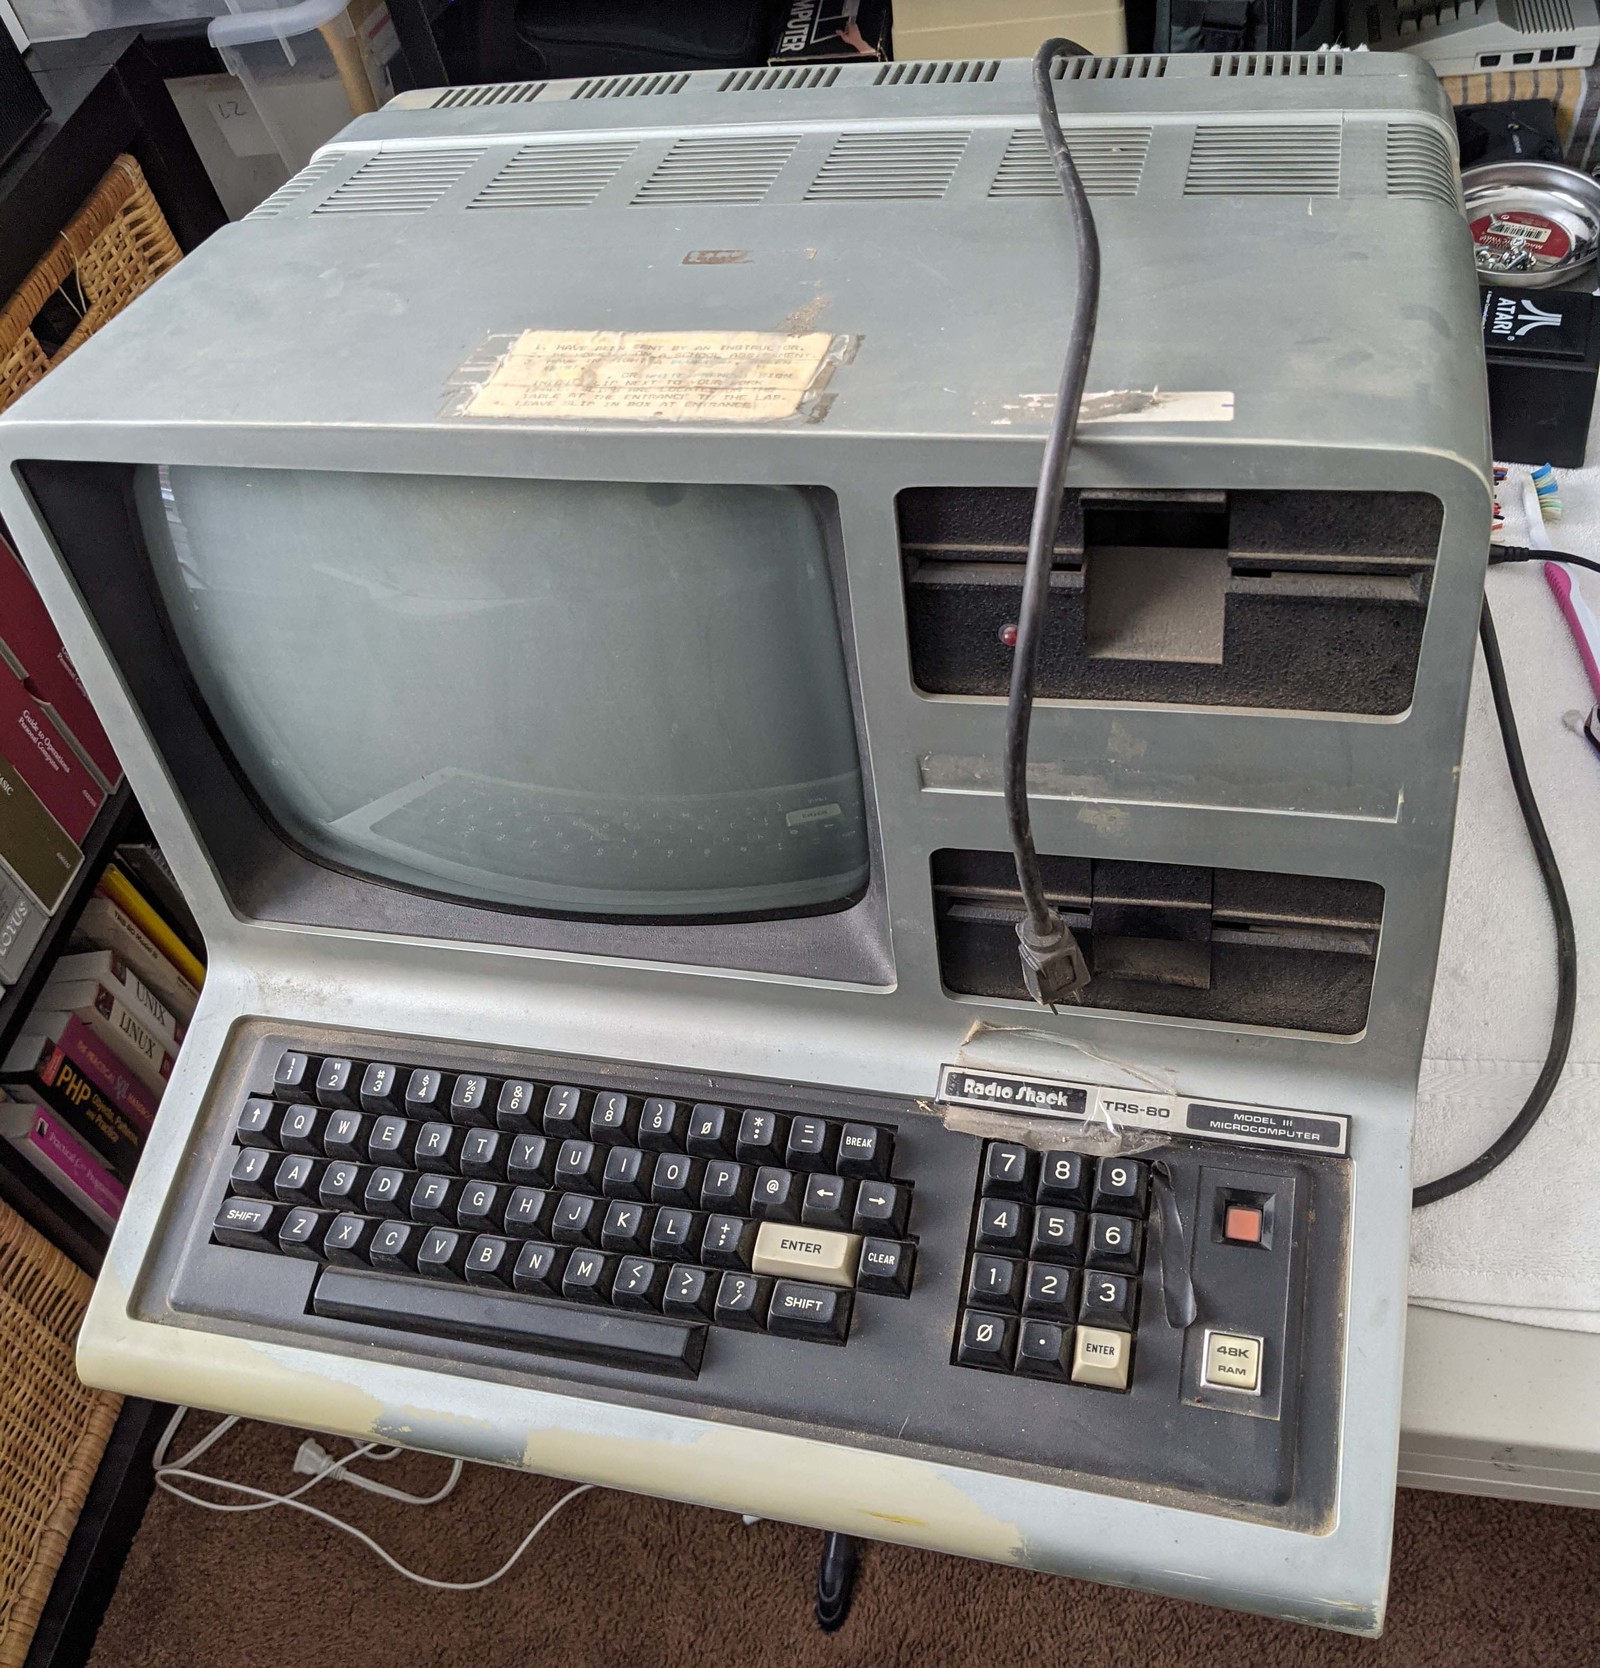

I managed to find an ad on Craigslist for a TRS-80 Model III at an irresistible price, so I made the trek over to the seller’s house and quickly finalized the transaction. The machine had a couple of 5.25 floppy drives and 48k of RAM. The guy also threw in a copy of “Getting Started with TRS-80 Basic” – which was ubiquitous back in the day. A really great score!
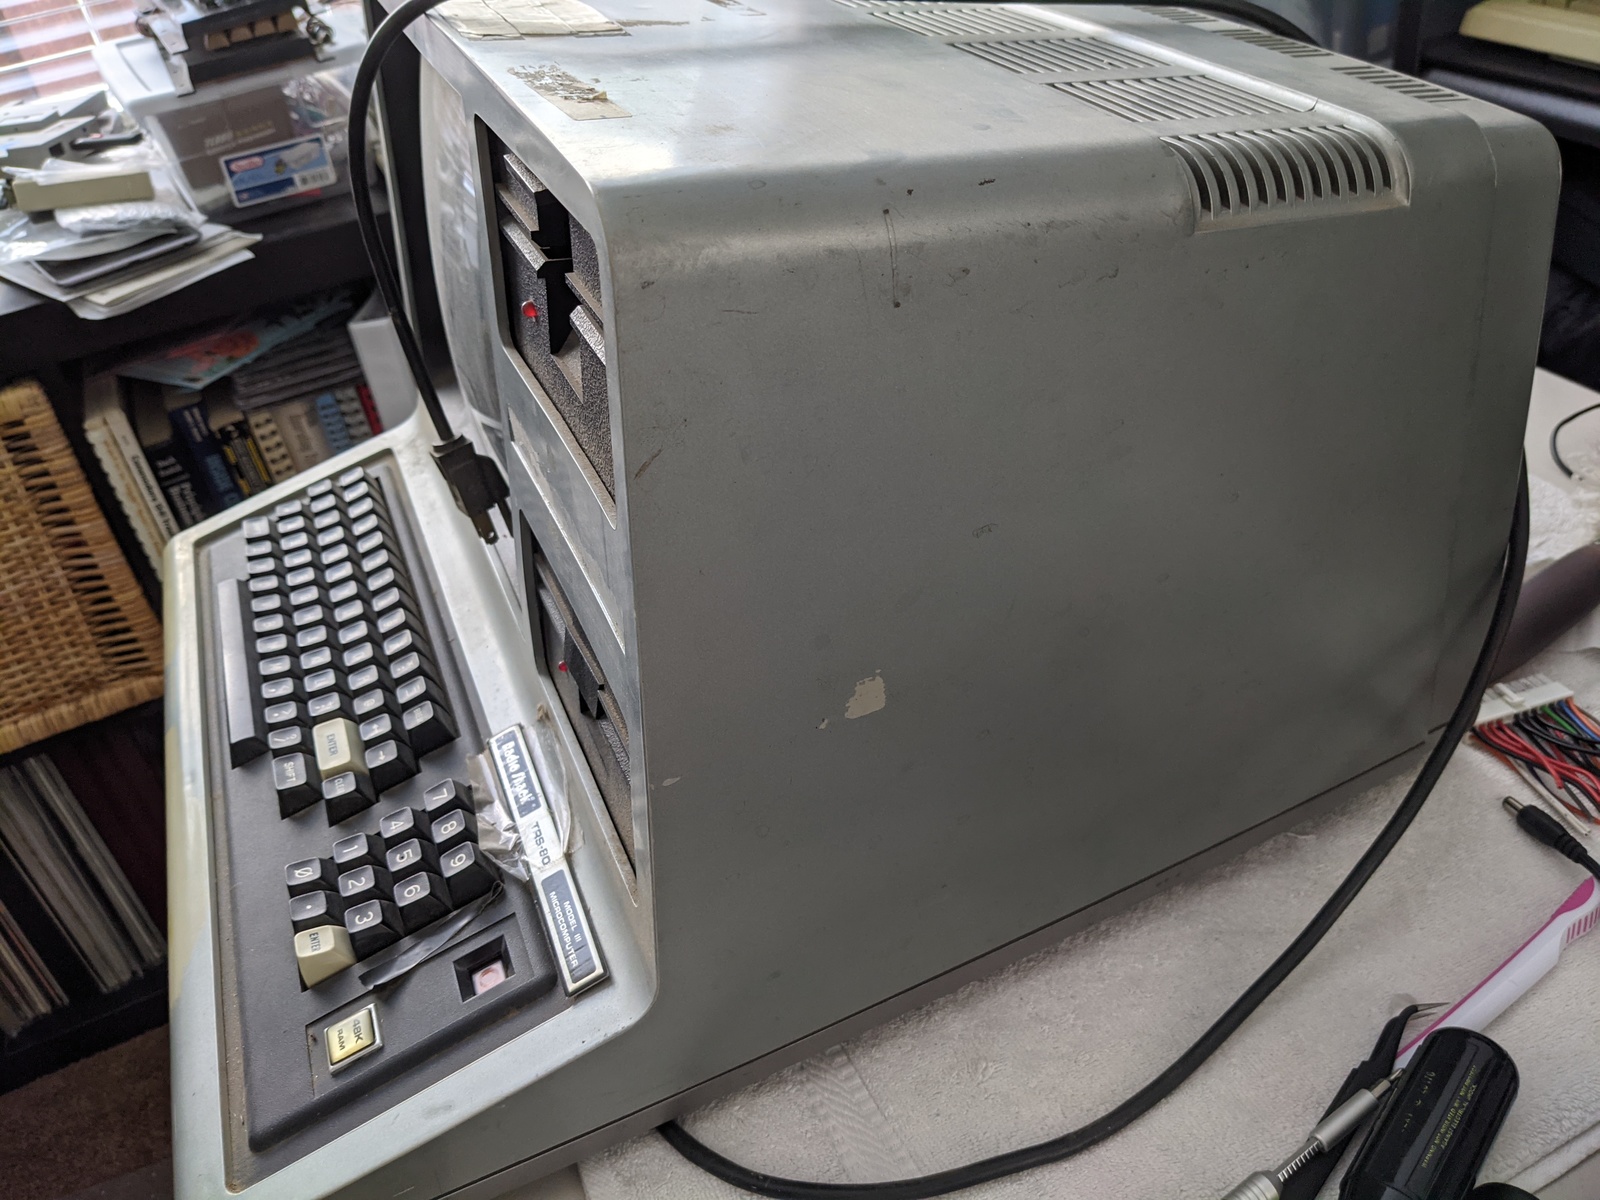
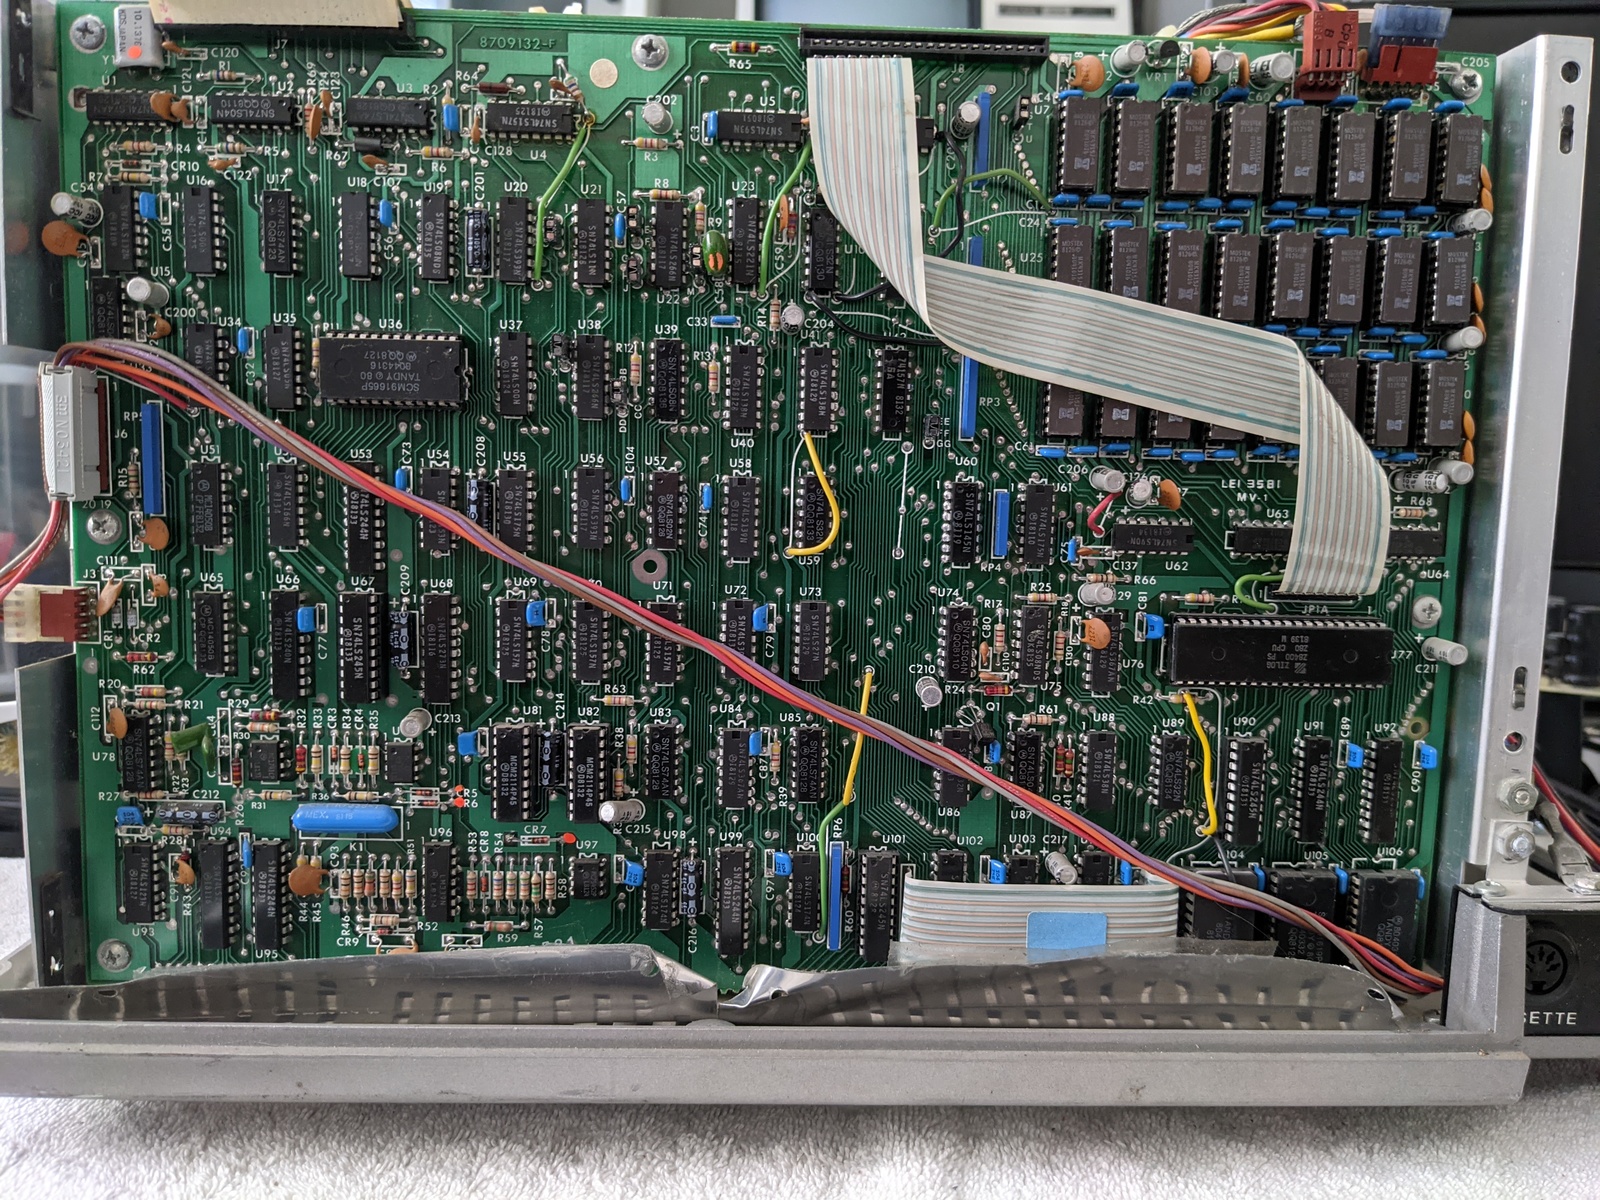
I brought it back to the “lab” to examine my new acquisition closer. The computer was super dirty inside and out, so I did some initial cleaning so it wouldn’t be so disgusting touching the thing. I popped off the top half of the case and started poking around. It looked like everything was in order and nothing was missing. It was common to have two identical power supplies in these computers – one for the main board and system and one more top power the floppy drives. I noticed that both power supplies had crusty looking power line filter capacitors, so I swapped those out with brand new ones. Other than that, I felt good about powering it up, so I plugged it in and flipped the switch. After tweaking the brightness and contrast knobs, voila! – I could see something on the screen!
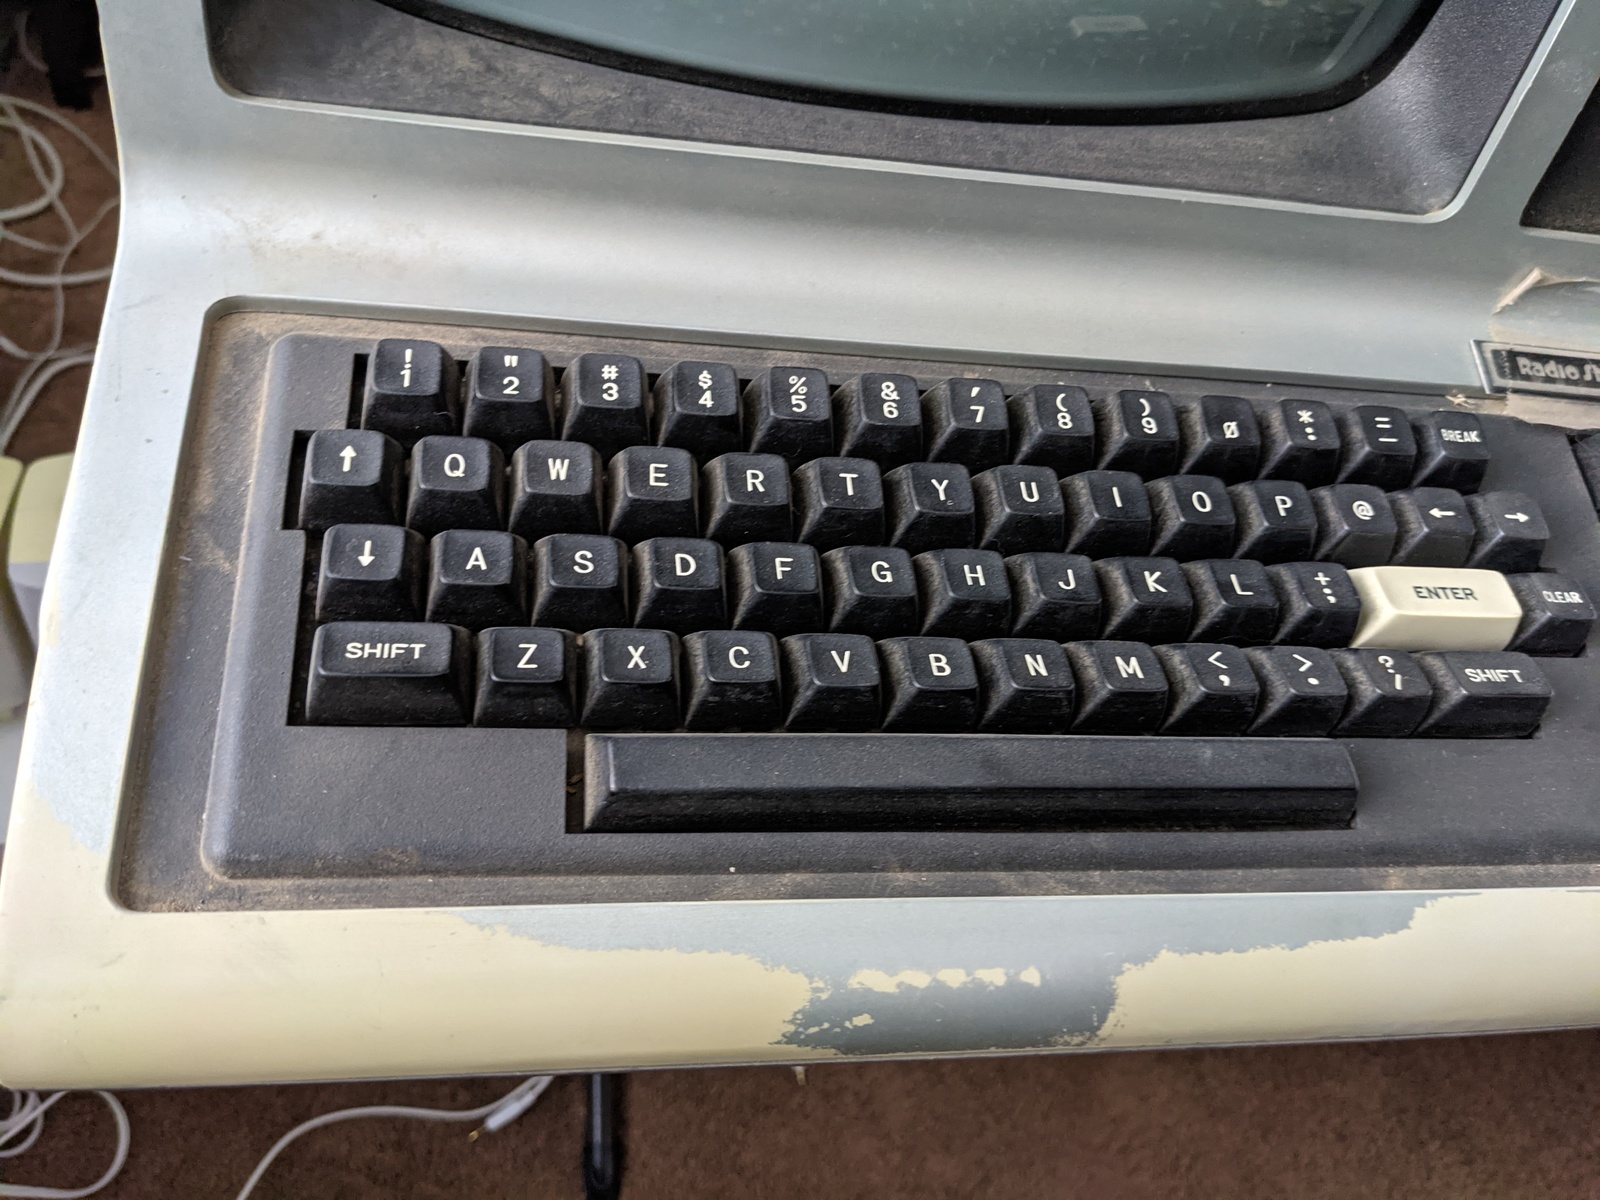
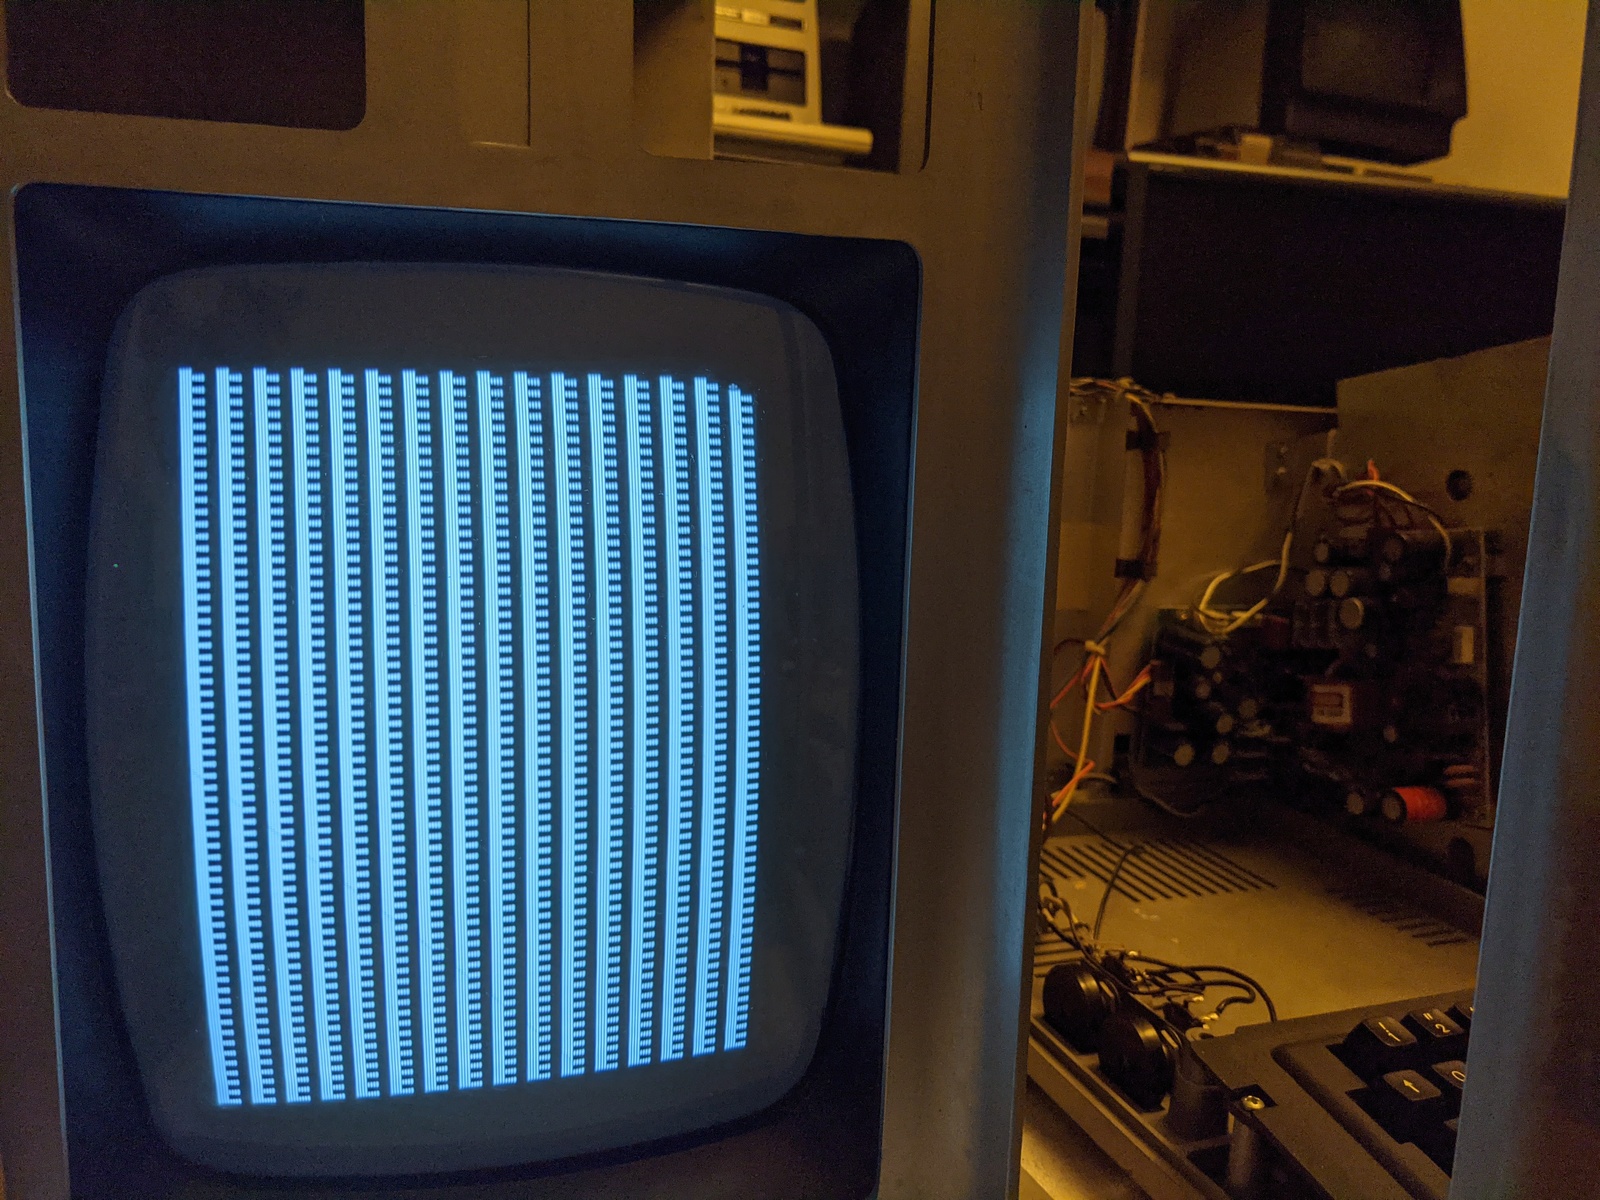
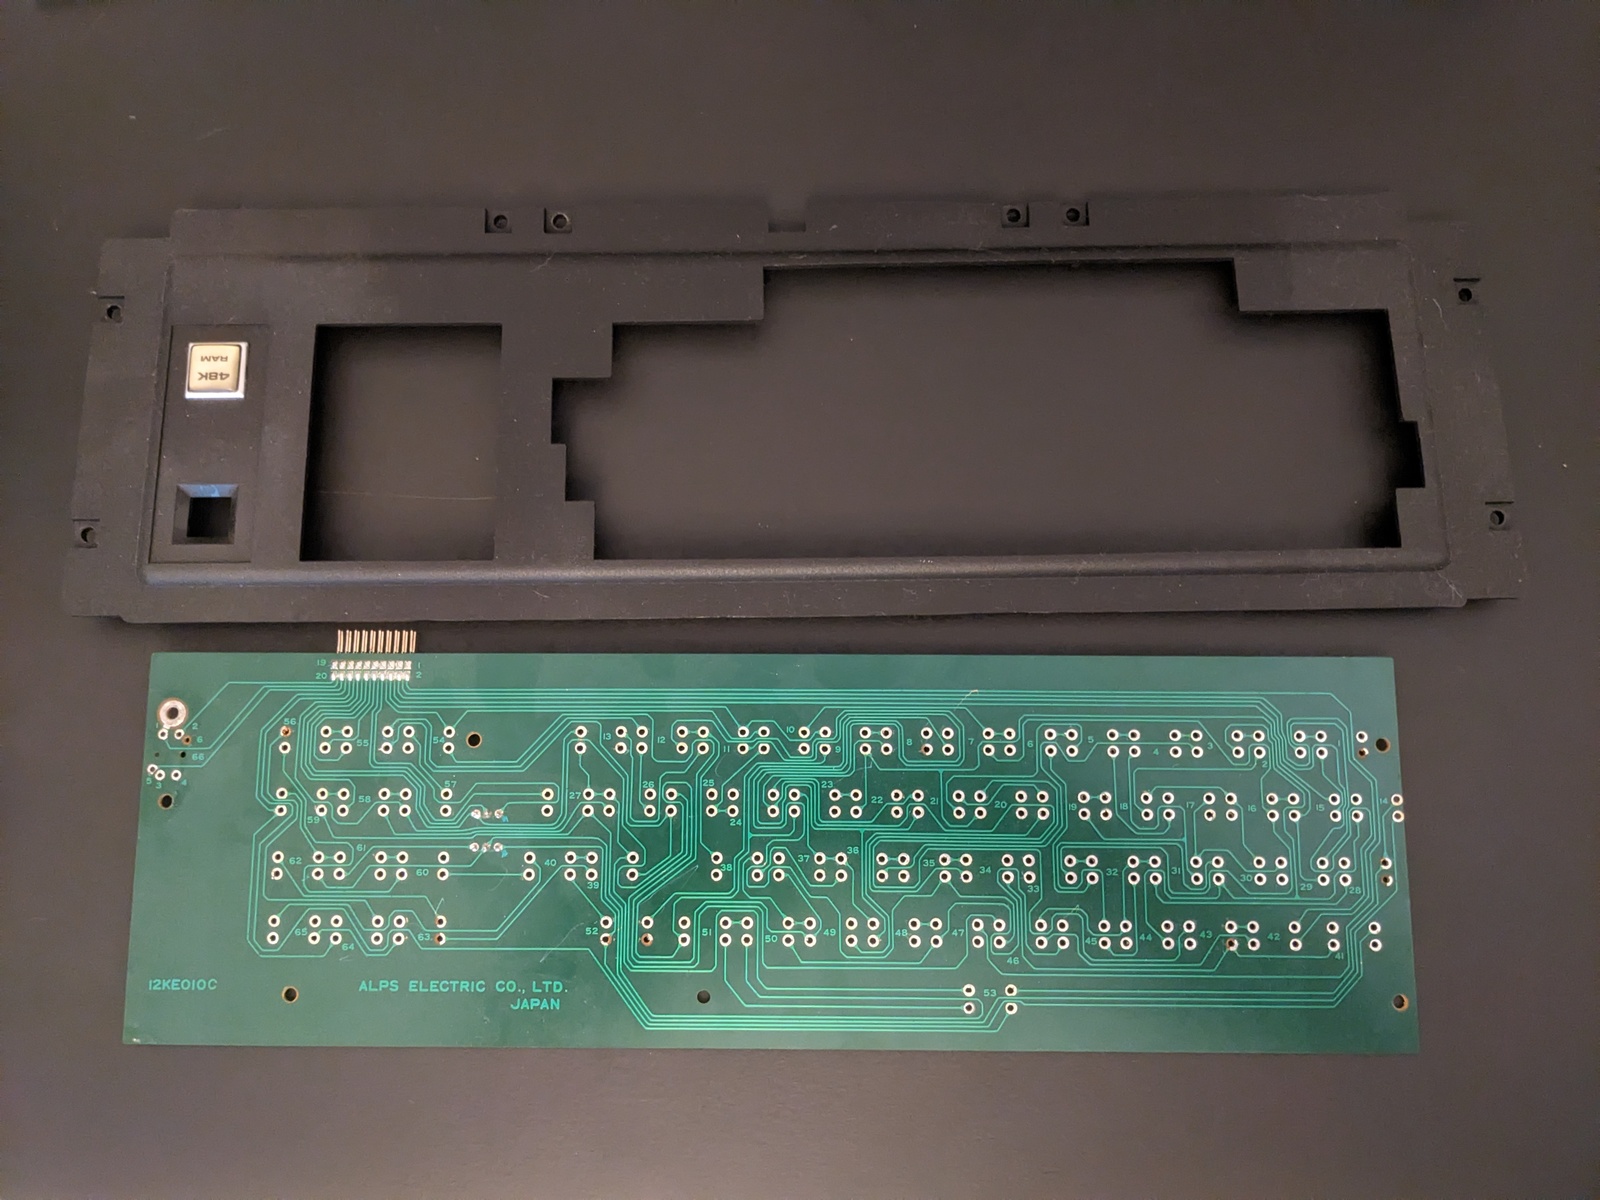
Right away, I noticed a few things wrong. First, the screen showed a series or random junk characters. This seemed to me to be a problem with the RAM. Then I noticed that only a small handful of the keys were actually working. I found some replacement RAM online and ordered it up… while waiting for the new RAM to arrive, I decided to focus my attention to the keyboard issue. I started by removing the entire keyboard assembly and keycaps and found years of dirt, crumbs, hair and other filth covering everything. I figured that this was the reason for the non-responsiveness, so I started disassembling the keyboard further.
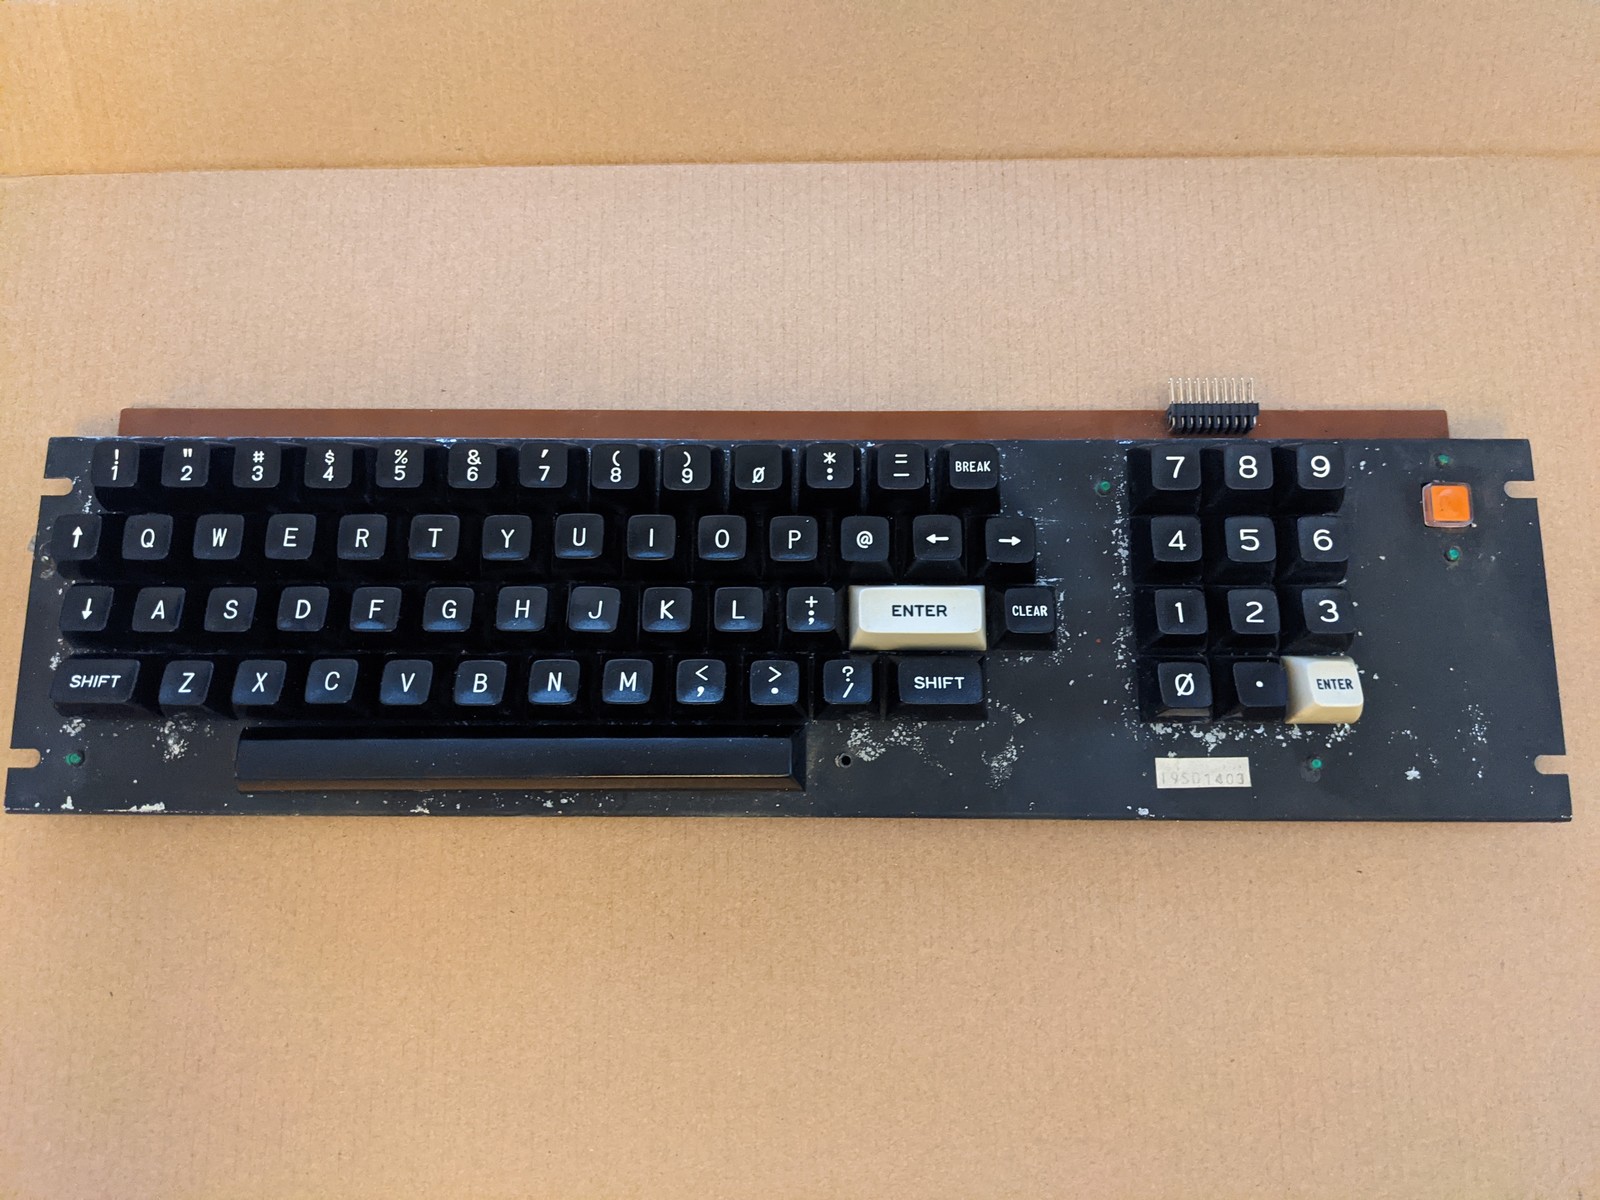
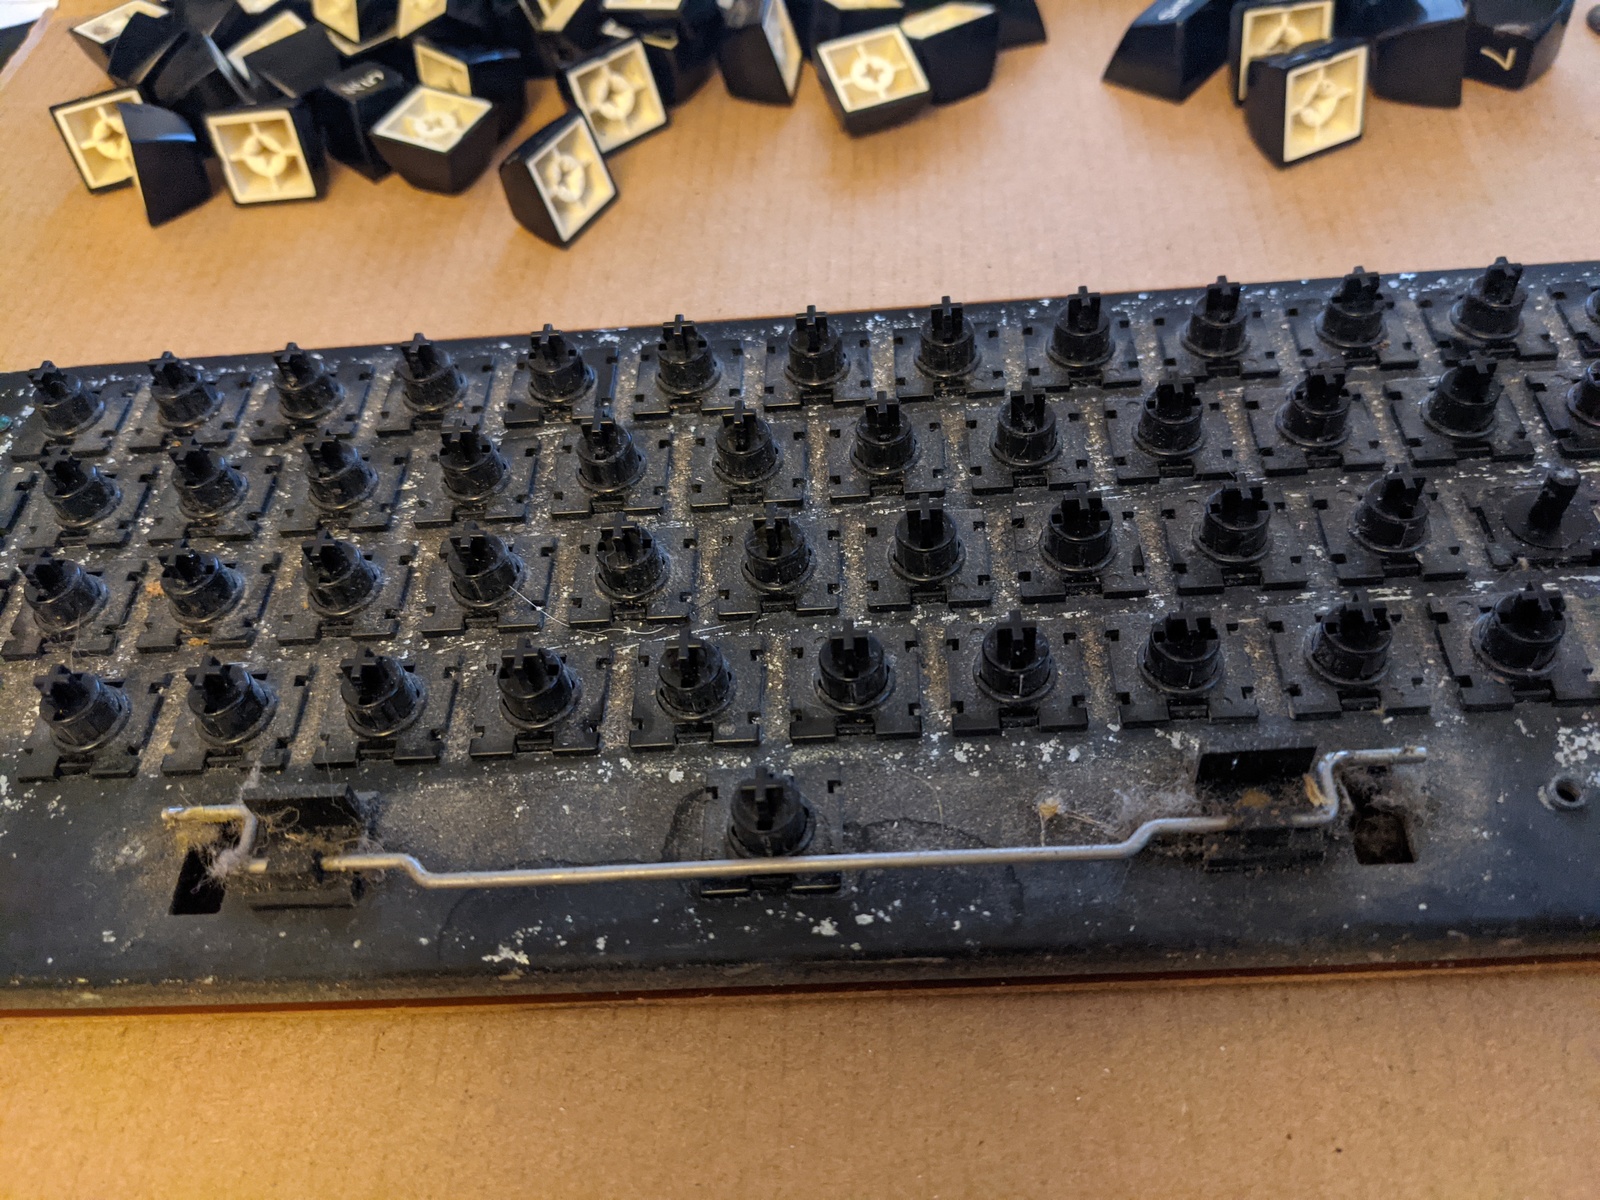
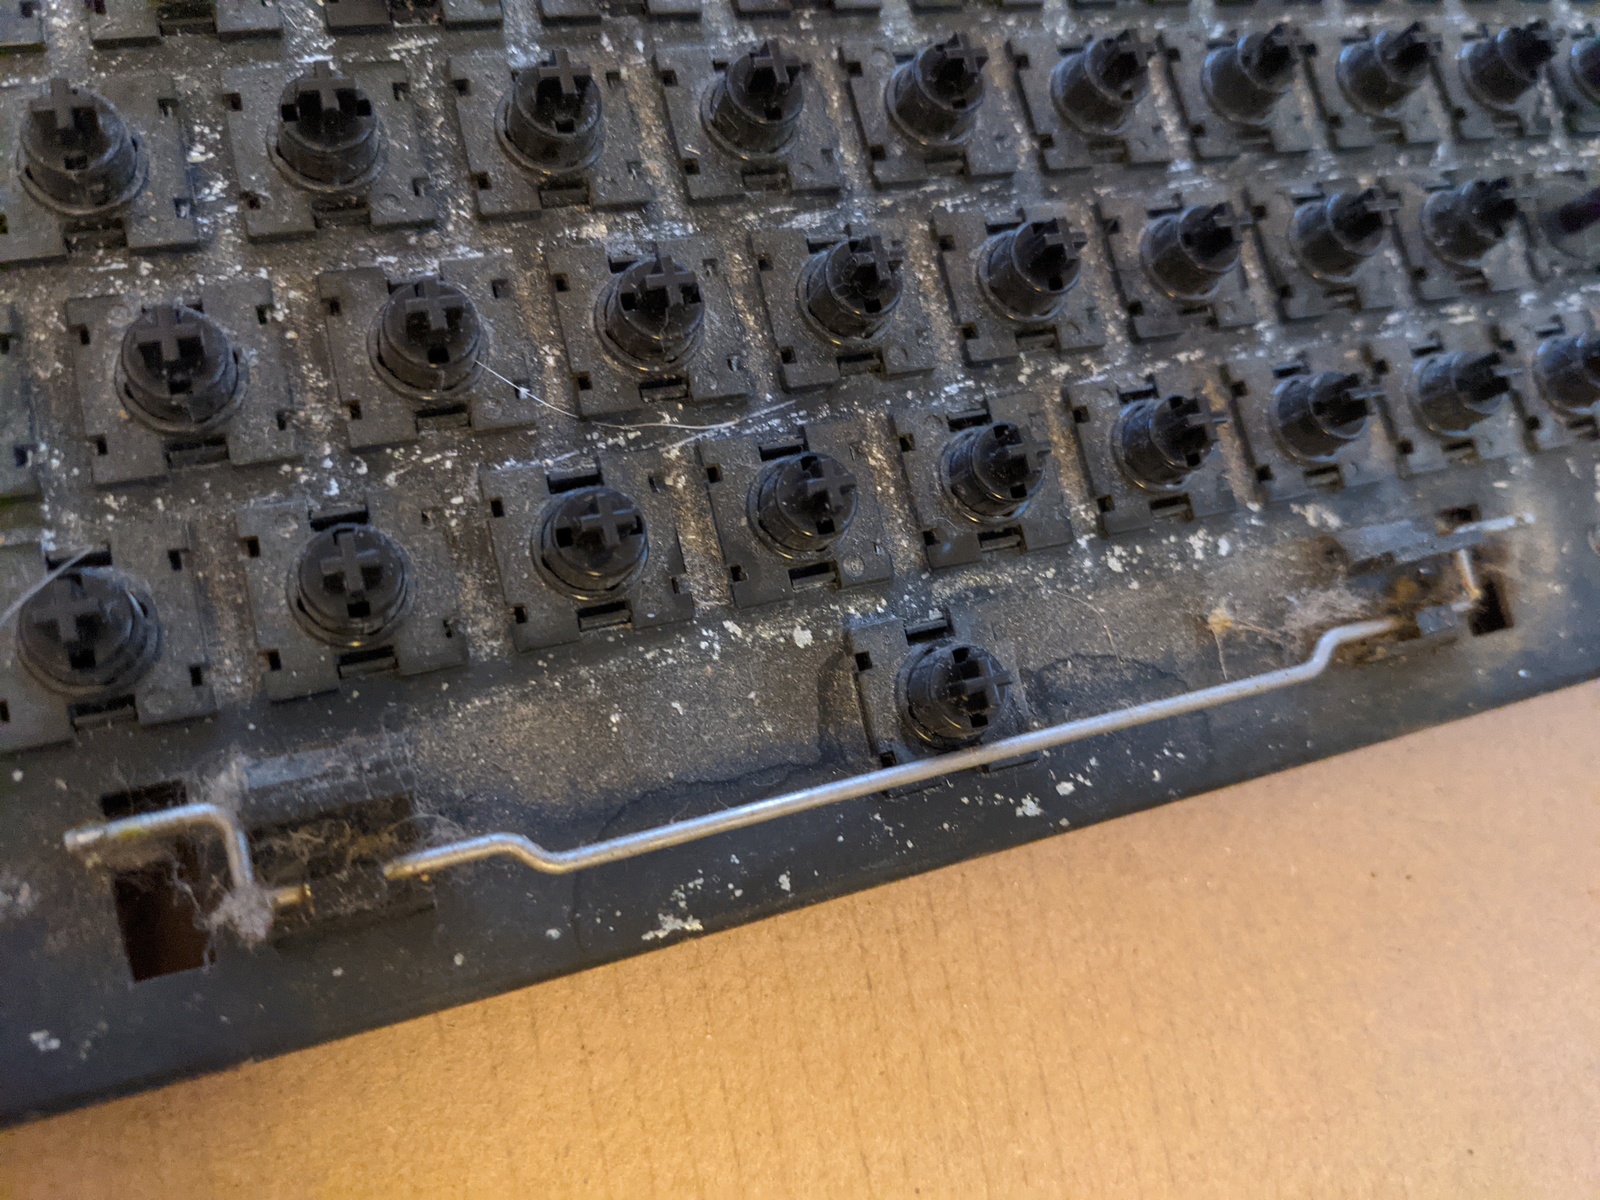
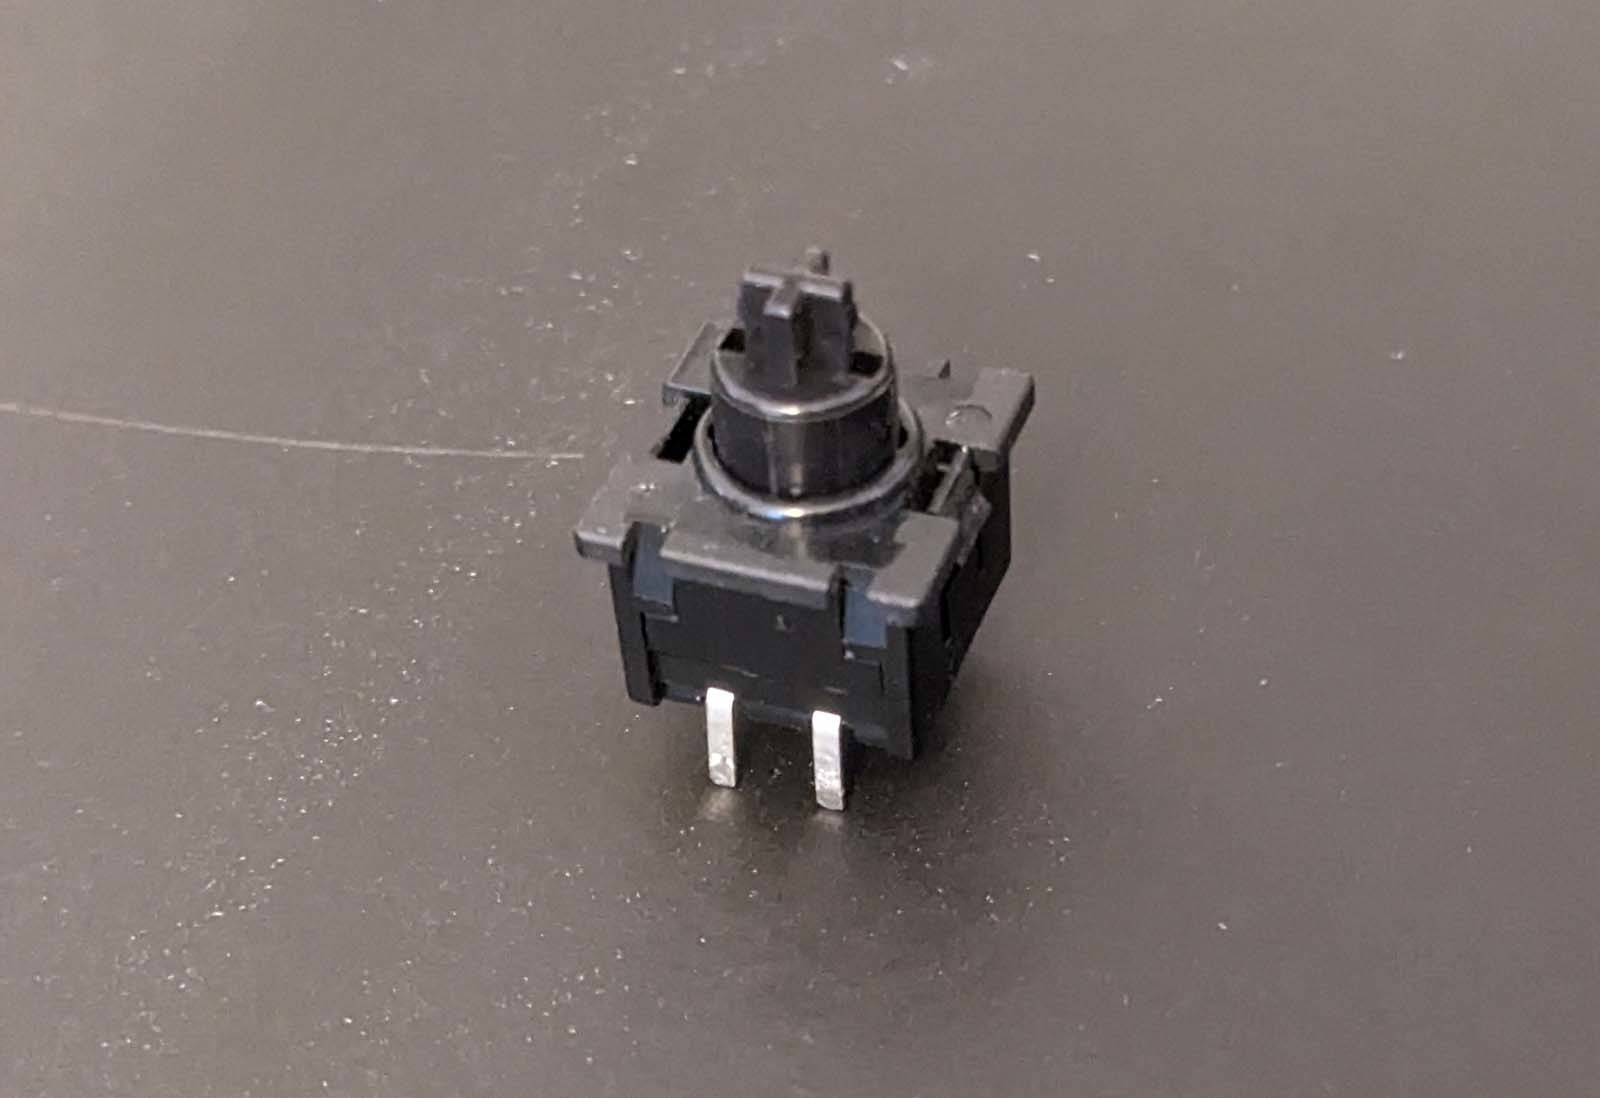
This particular keyboard uses the Alps assembly where each of the 4 leads on each key switch is soldered directly to a PCB. I knew that I had to unsolder each of the key switches which took a very long time – even with an automatic pump-type solder sucker. I managed to get all of the key switches out with only a couple of bruises to the pads and traces on the PCB. I guess I will have to get back to those later.
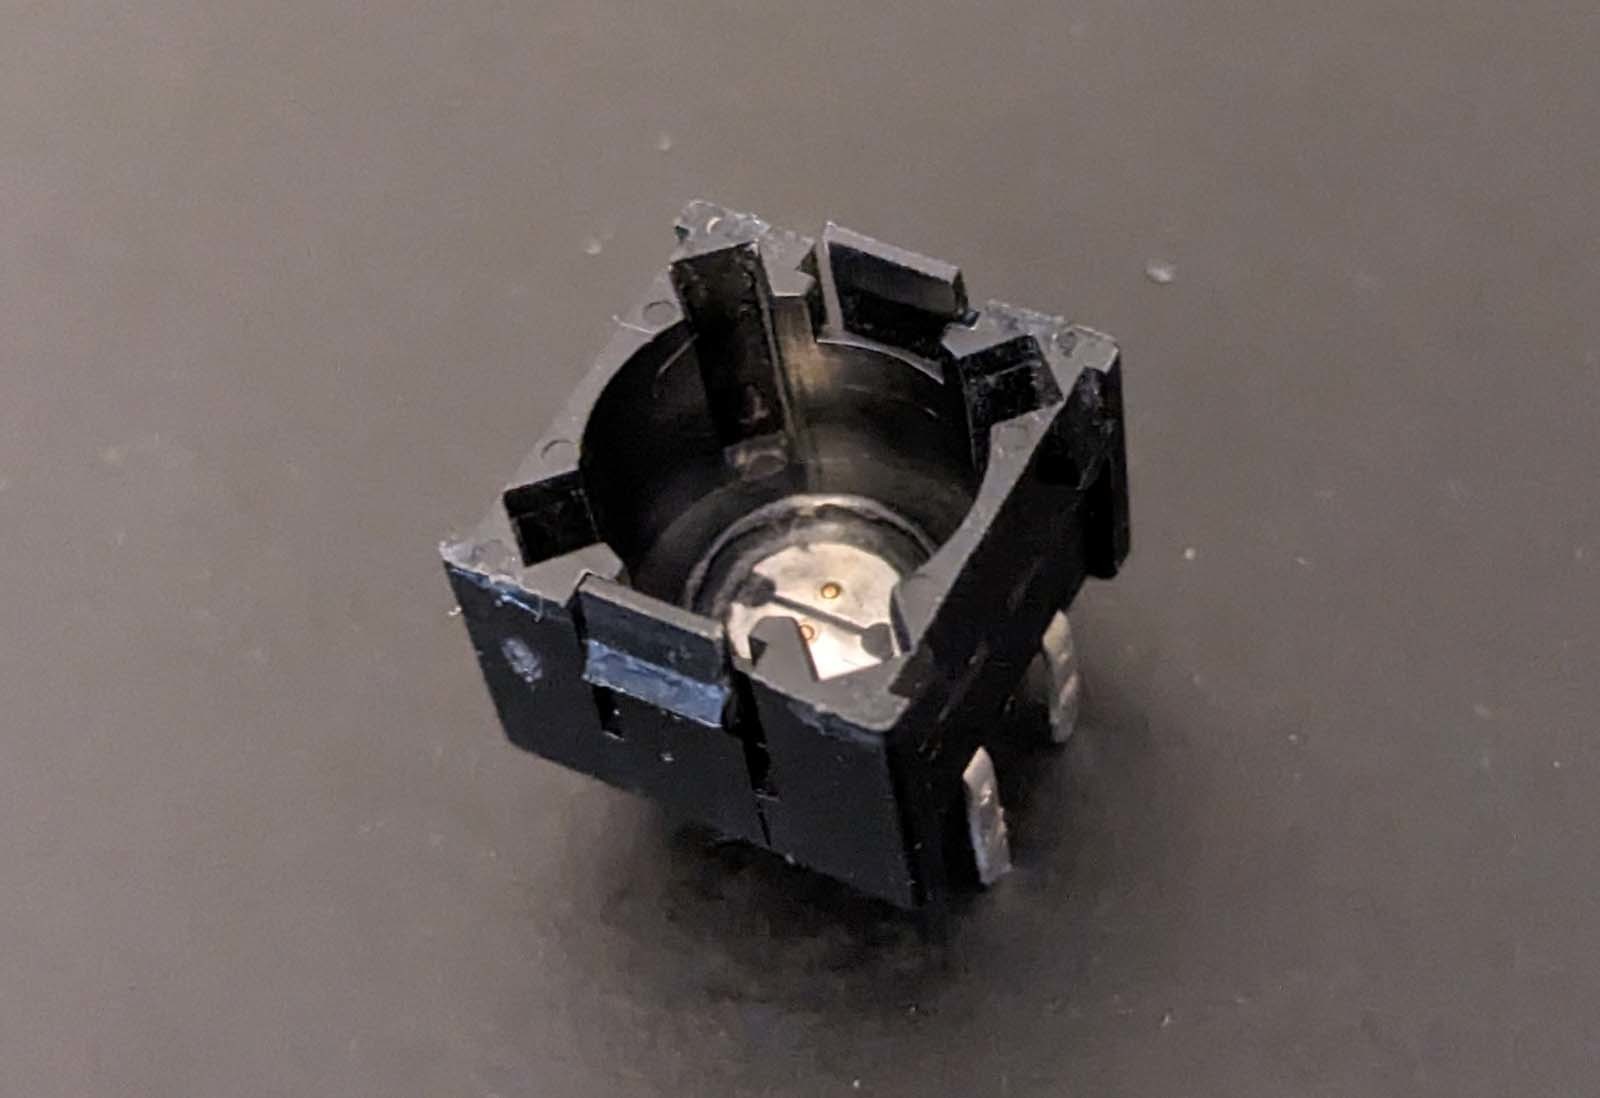
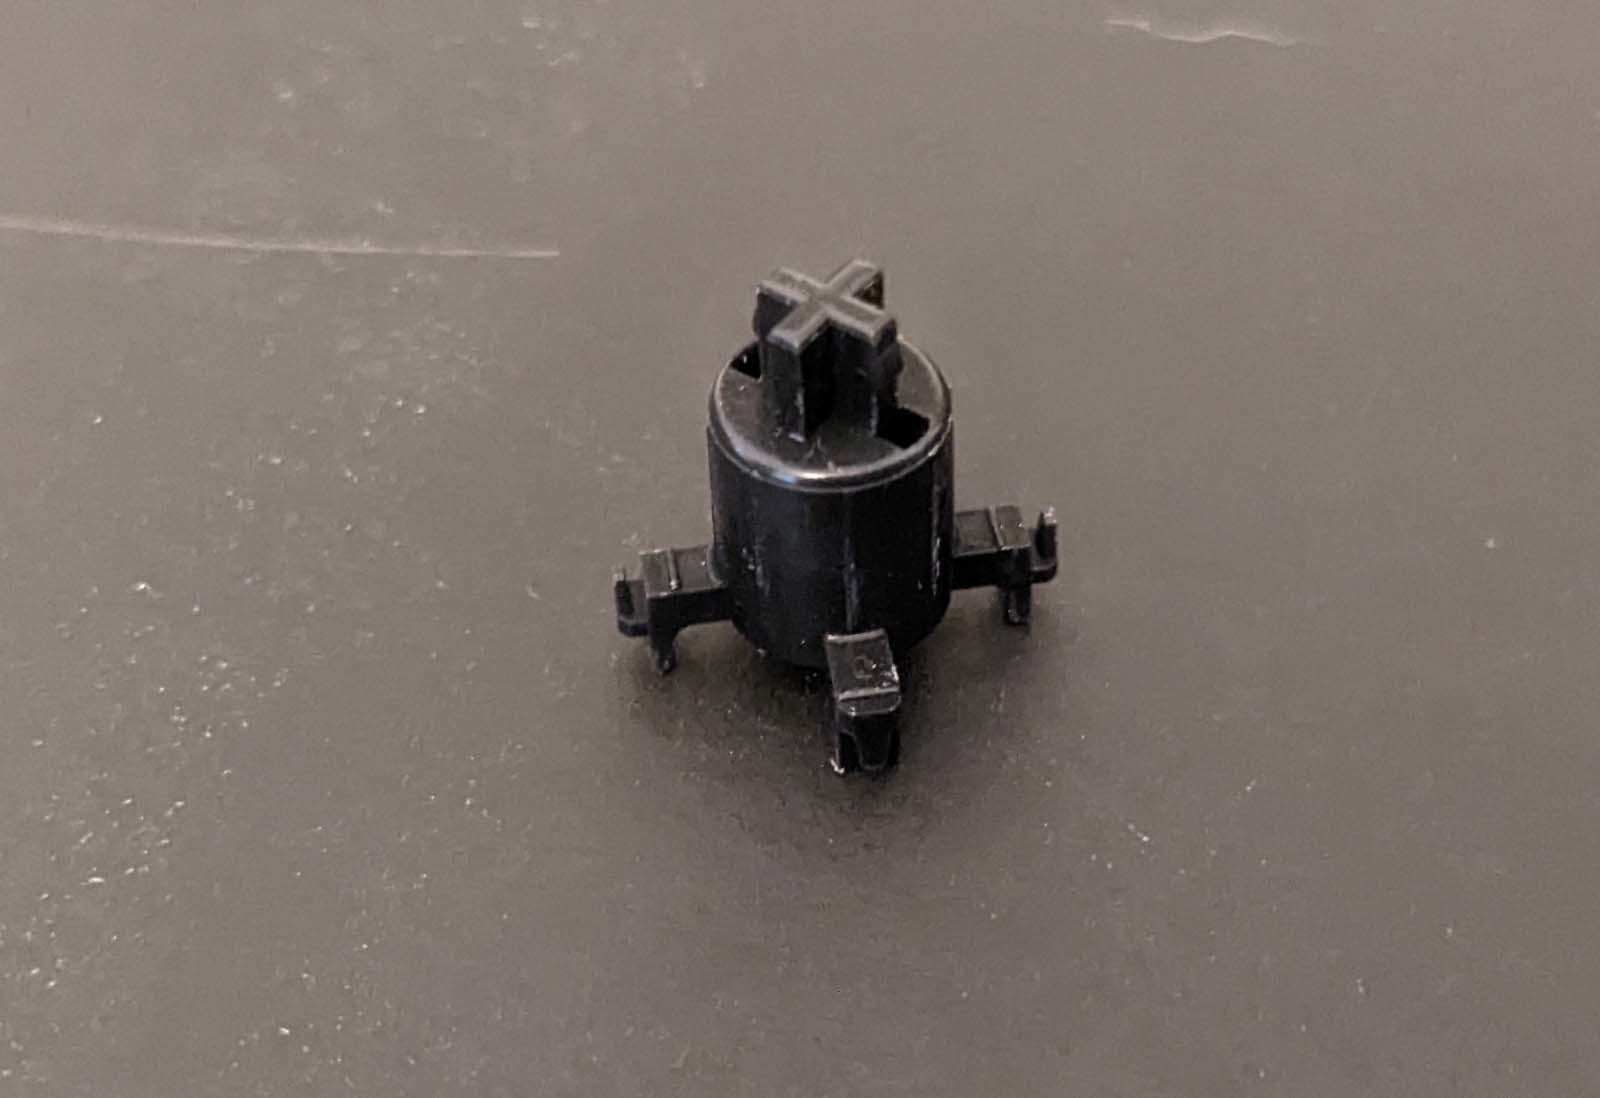
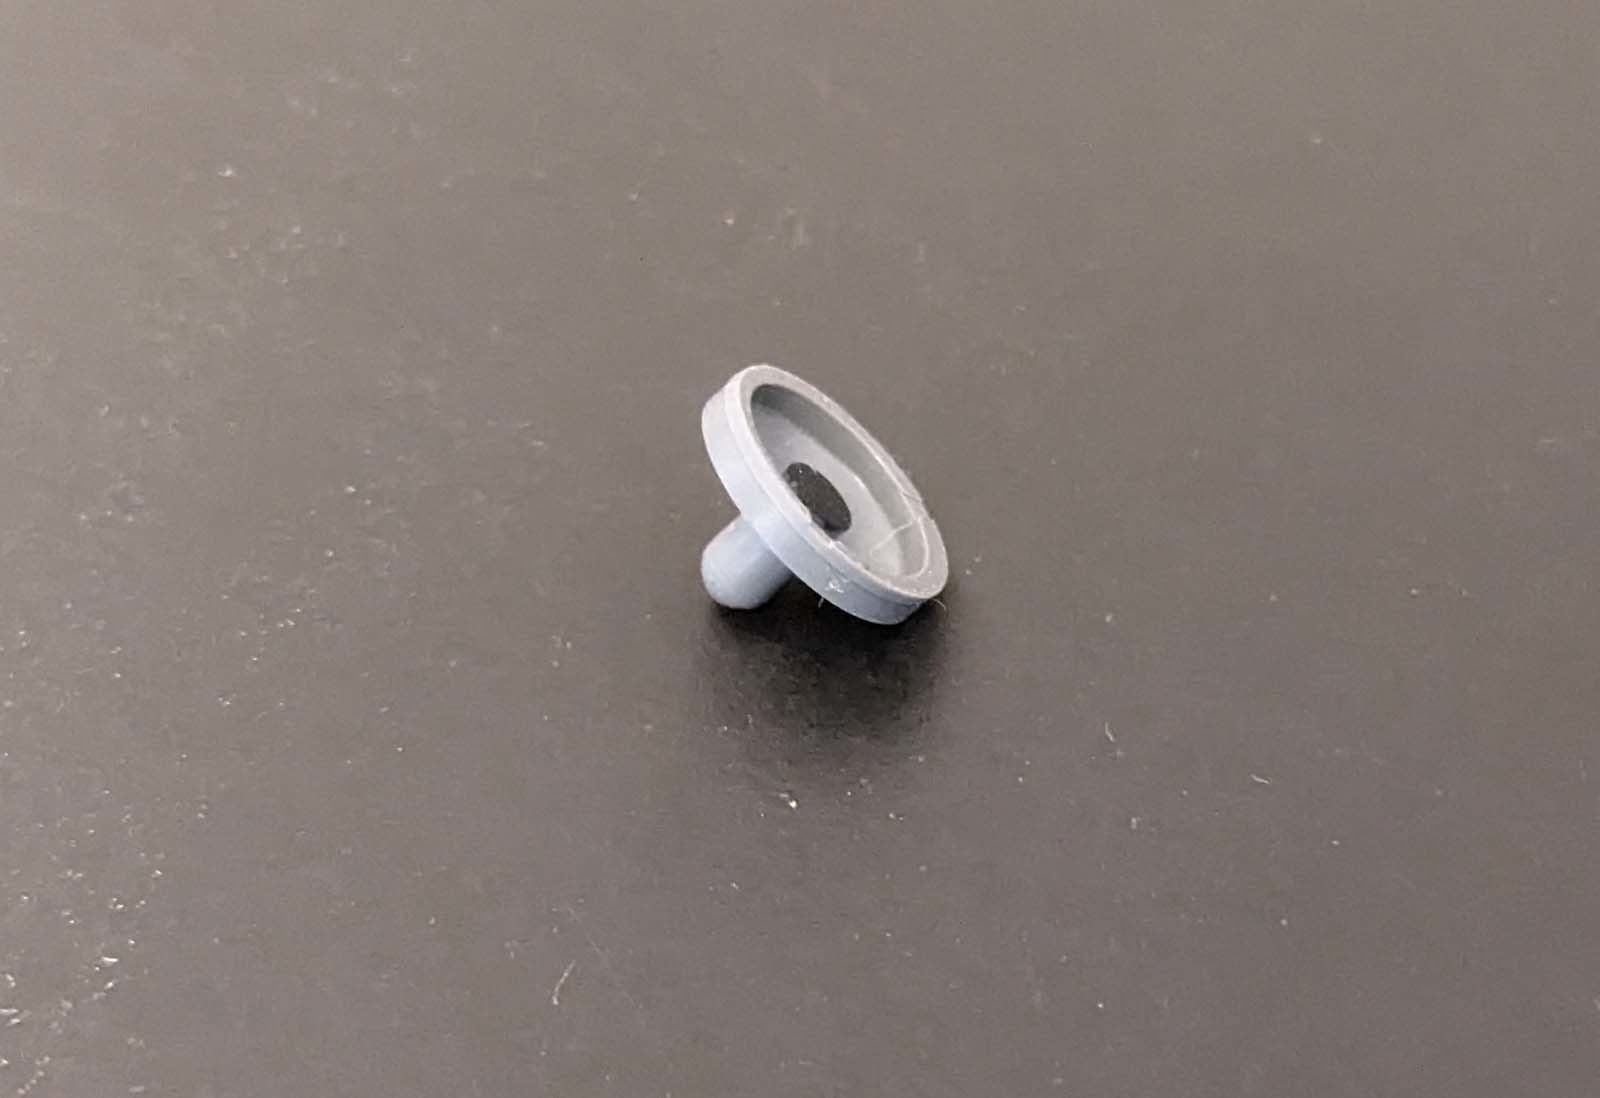
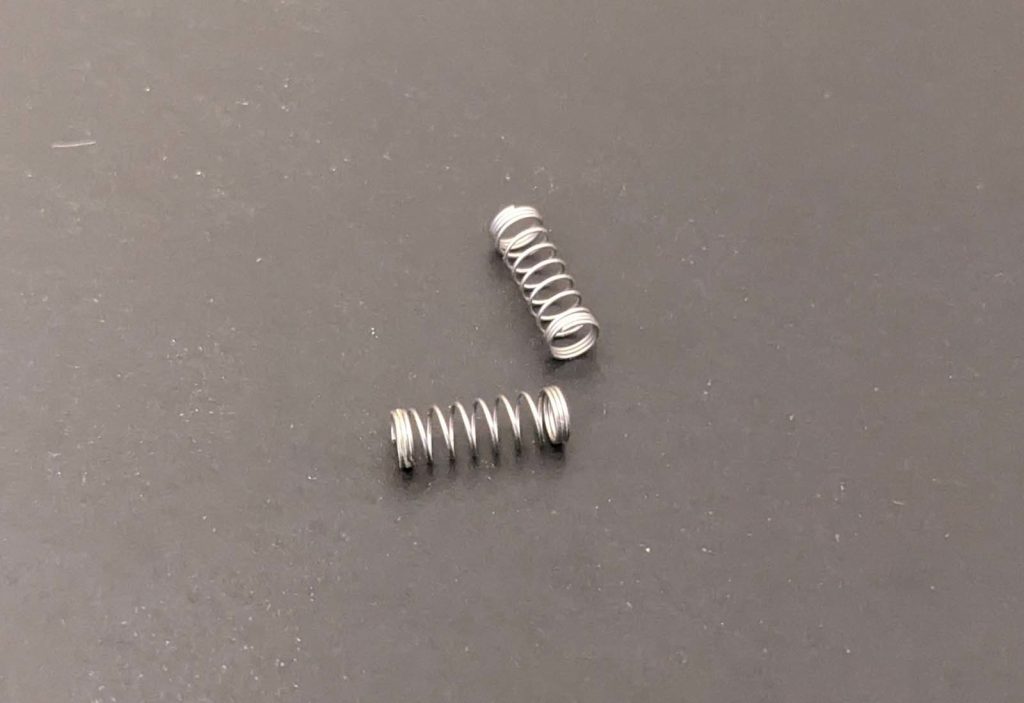
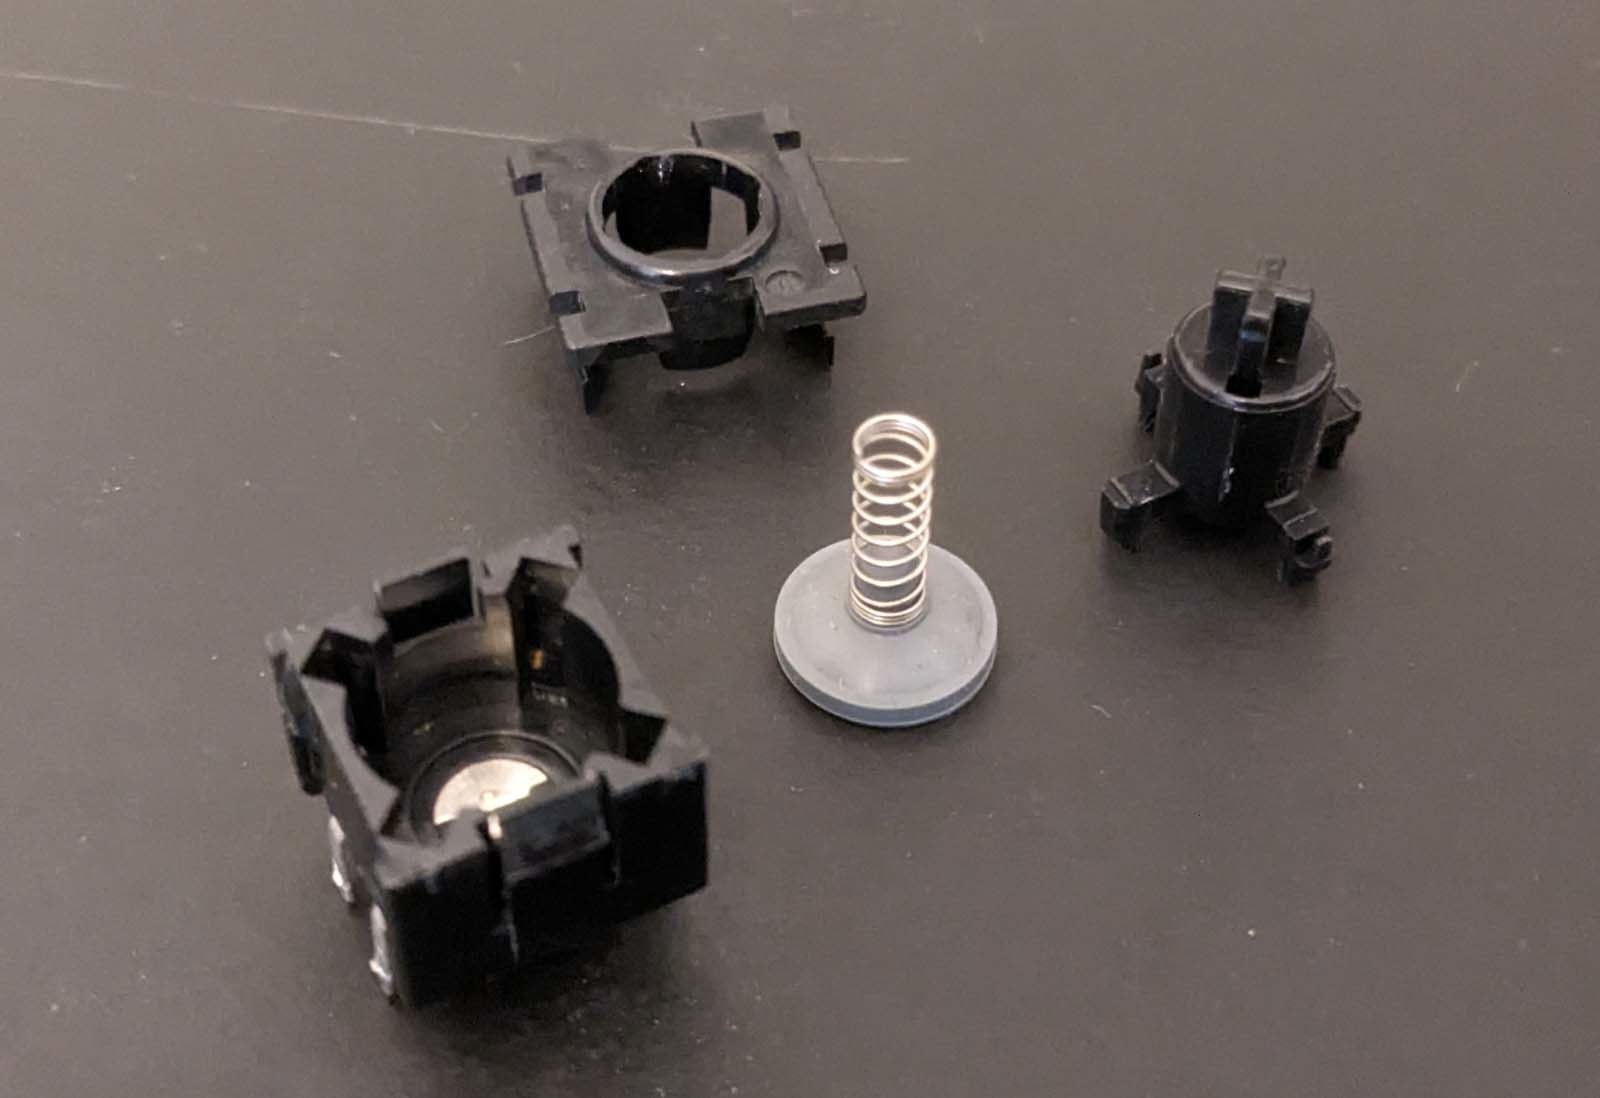
With all the key switches out, it was time to disassemble each individual key switch. These Alps switches contain 5 components consisting of the switch body, a rubber dome with a conductive carbon contact, a spring, plunger and a cap that snaps in place to keep everything together.
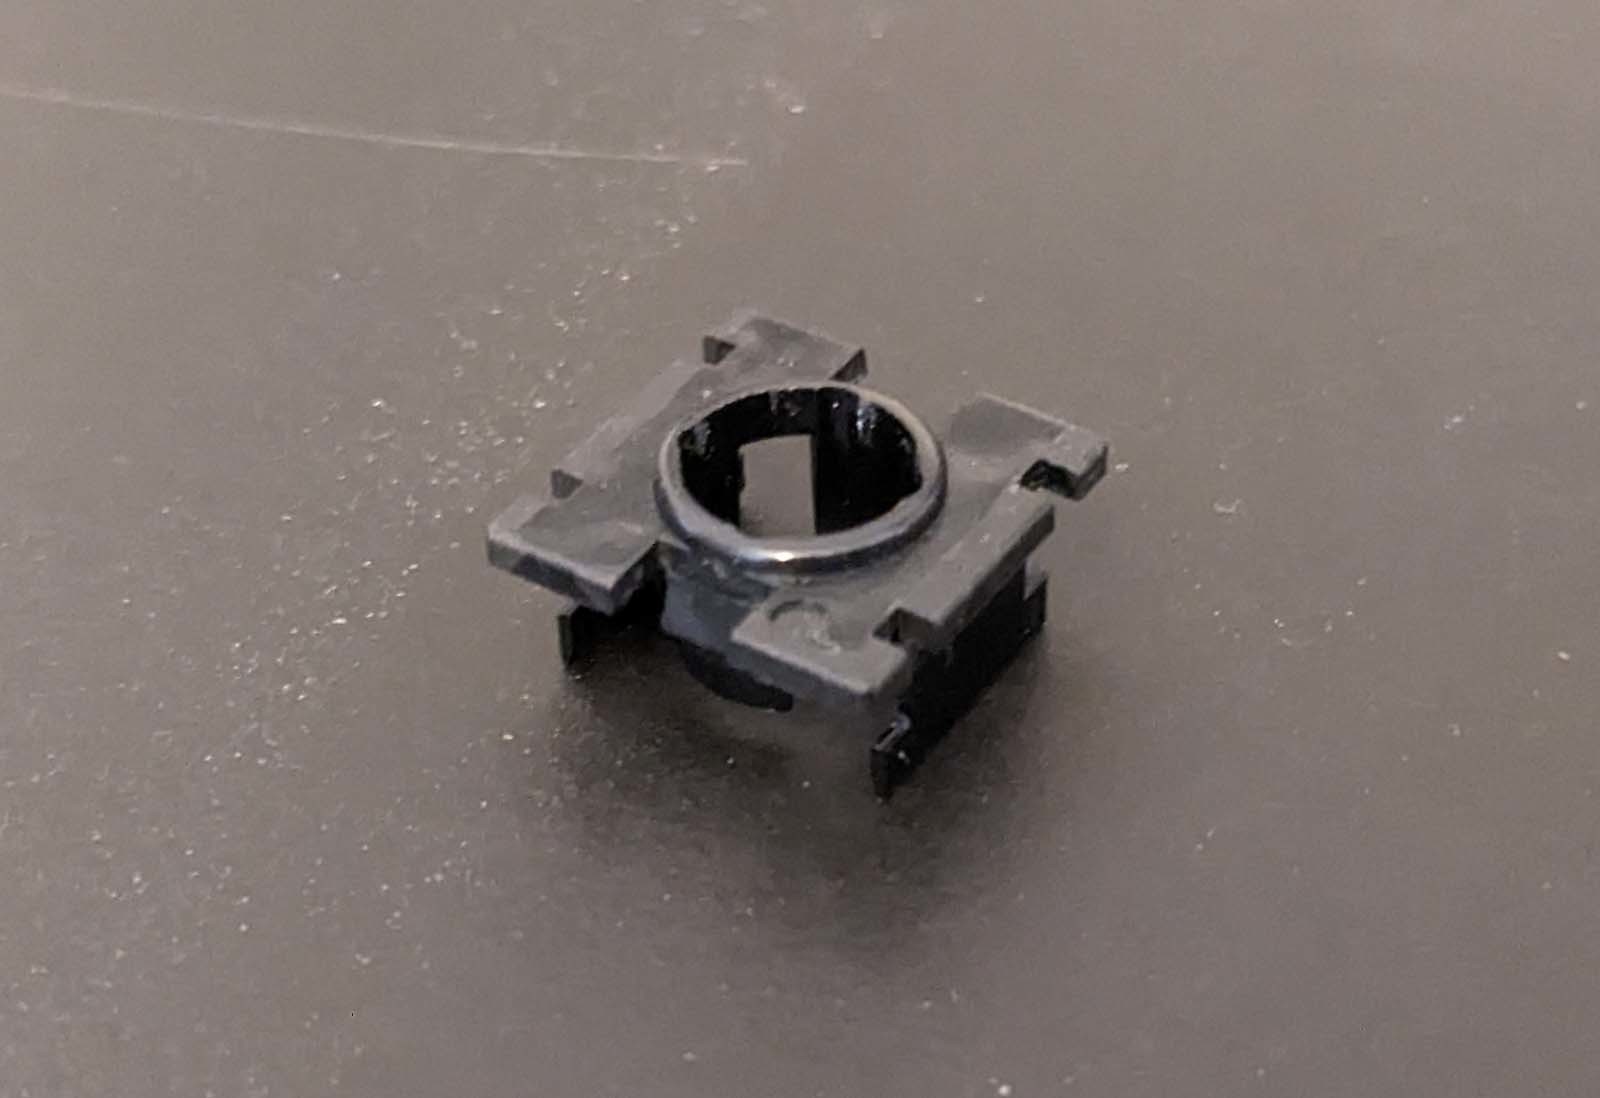
I washed al of the plastic components with warm soapy water. After everything dried, I noticed right away that the conductive parts of the key switch body on almost all the switches were severely tarnished. I used a bunch of Q-Tips with some fine steel wool to polish up the contact points inside of the body. I then took some resistance measurements with my multimeter and found that there was still no positive contact between the carbon contact and the contacts in the switch body for the majority of the switches I tested this way.
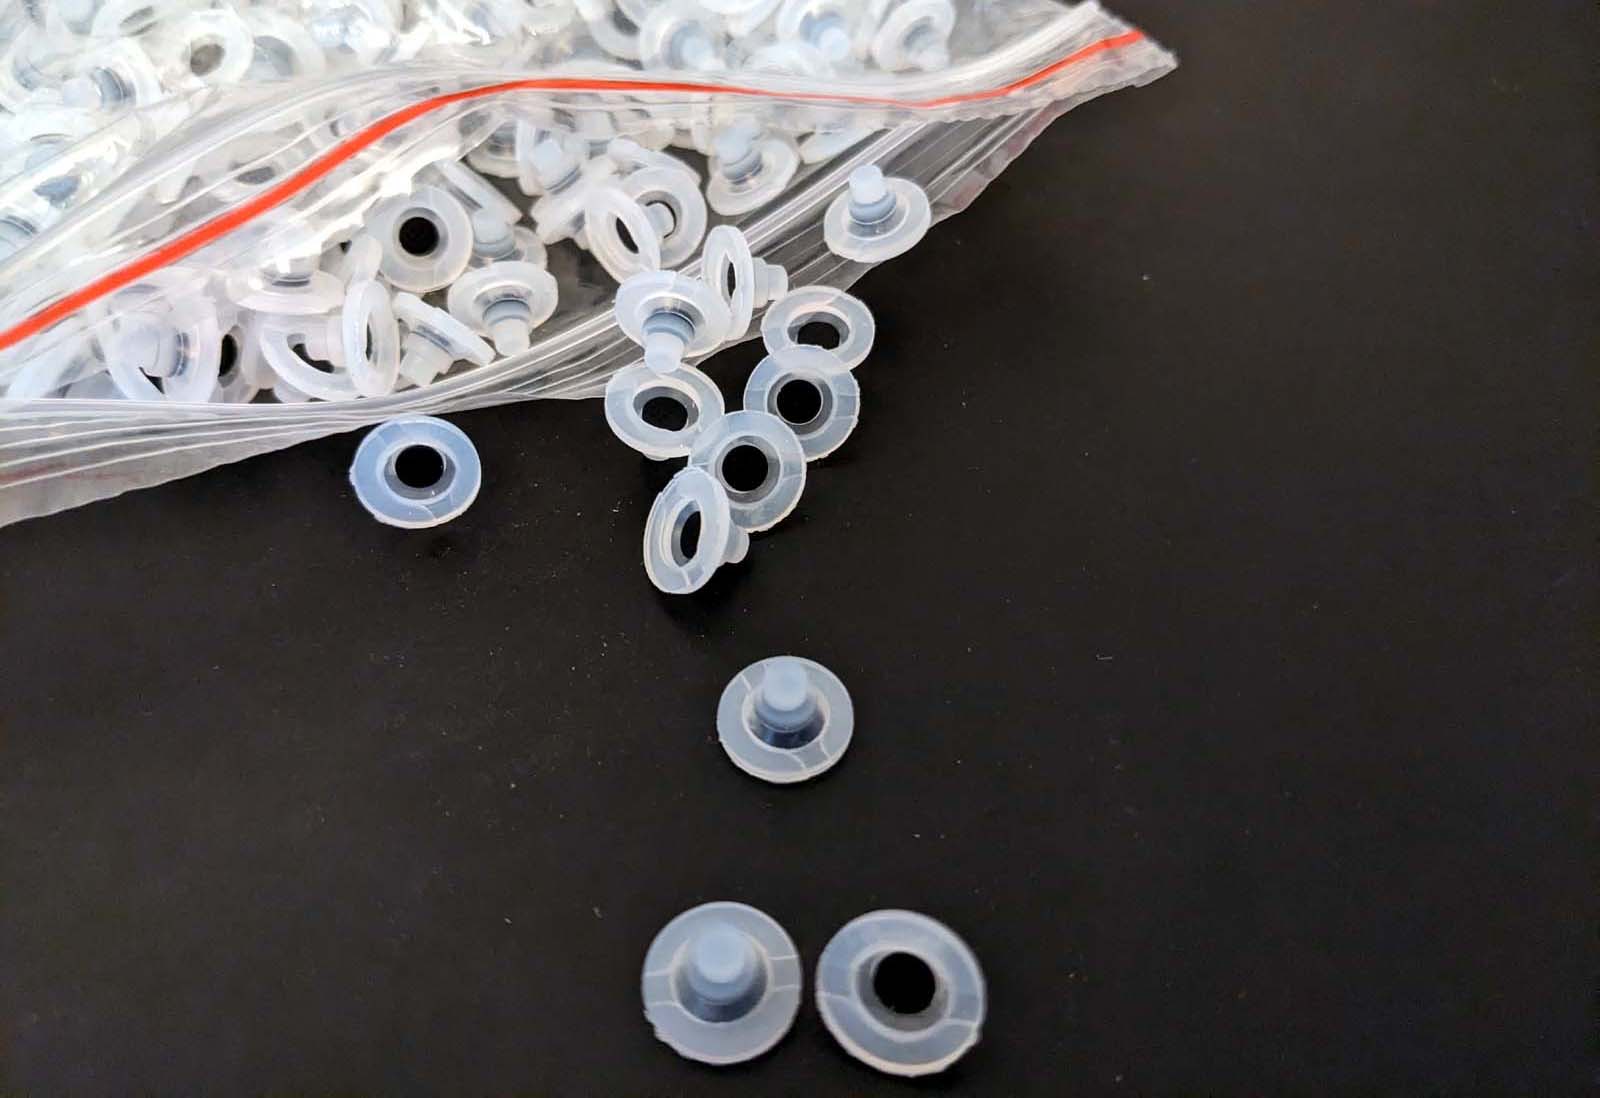
At that point, I started looking for a solution to either replace or repair all of the rubber dome contacts. My Google searches led me to AliExpress where I found an almost exact replacement rubber dome contact. I picked up a bag of 1000 pieces (way more than necessary!) and played the shipping from China waiting game. The parts came quicker than I anticipated and was excited to try the new contacts out. They fit perfectly in the switch housing including where the spring fits on the top of the rubber dome. Without assembling the whole switch, I did some quick tests and all were making good contact! I was psyched, but my excitement evaporated after I tried putting a few of the switches completely back together. I tested the fully assembled switches but only a small number of them were registering any contact! I was puzzled to say the least. After a lot of beating my head trying to figure this out, I found the reason why almost none of the switches were working. The replacement rubber domes I had ordered fit great and made positive electrical contact, but the rubber they used was not as pliable as the original domes. As an experiment, I had a glass jar laying around and held one of the new rubber domes with a spring attached at the bottom of the jar so I could see the actuation happening. Almost every push on the spring made the rubber dome “buckle” – causing the carbon button to only connect on its very edge. That explains why only a small amount actually worked – those just so happened to be positioned in a way that it made the connection on the very edge of the carbon button.
Not sure what to do next, I decided to order some CaiKote 44 conductive paint. I plan to paint each of the carbon contacts from the OLD rubber domes with the conductive paint. Sure hope that works!
As they say on TikTok or wherever, “like for part 2”.